Getting started
This lesson opens a folder of photos, brightens one, asks the assistant for a change, and saves the look as a snapshot.
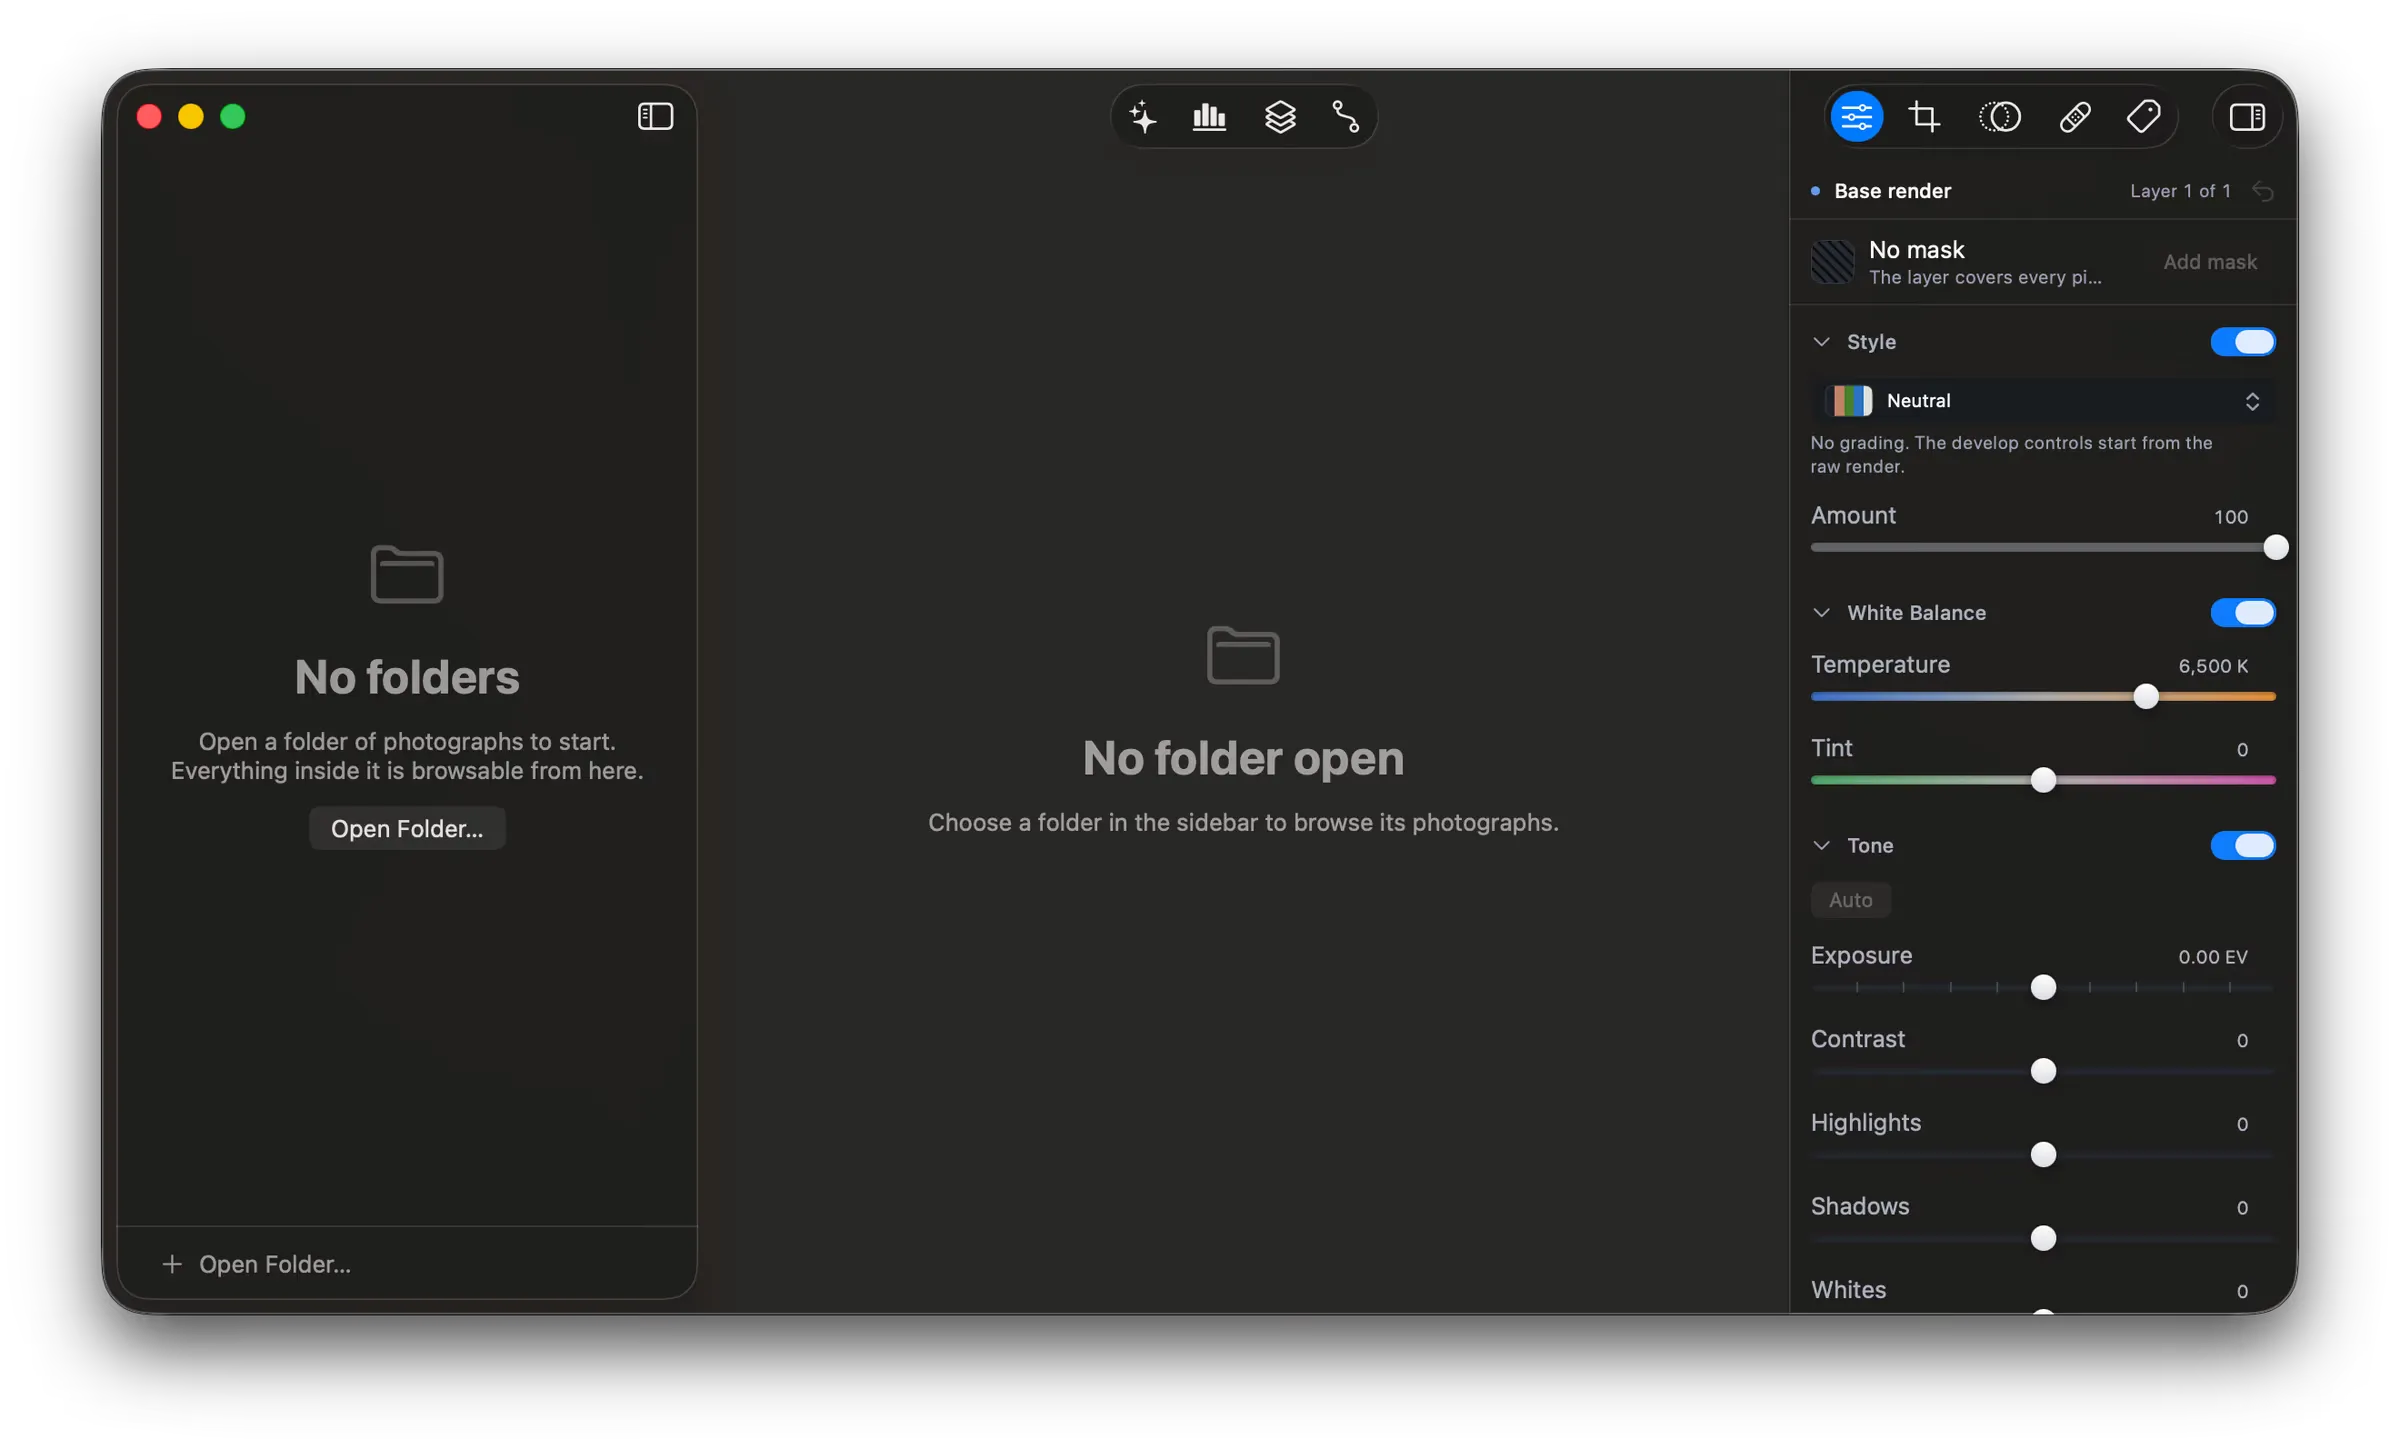
Open a folder
Section titled “Open a folder”Fotometis starts with an empty workspace, so open a folder before anything else.
- Click Open Folder in the sidebar.
- Choose a folder of photos.
Fotometis lists the folder and its subfolders in the sidebar. To open a second folder, click Open Folder at the foot of the sidebar.
See photos in the film reel
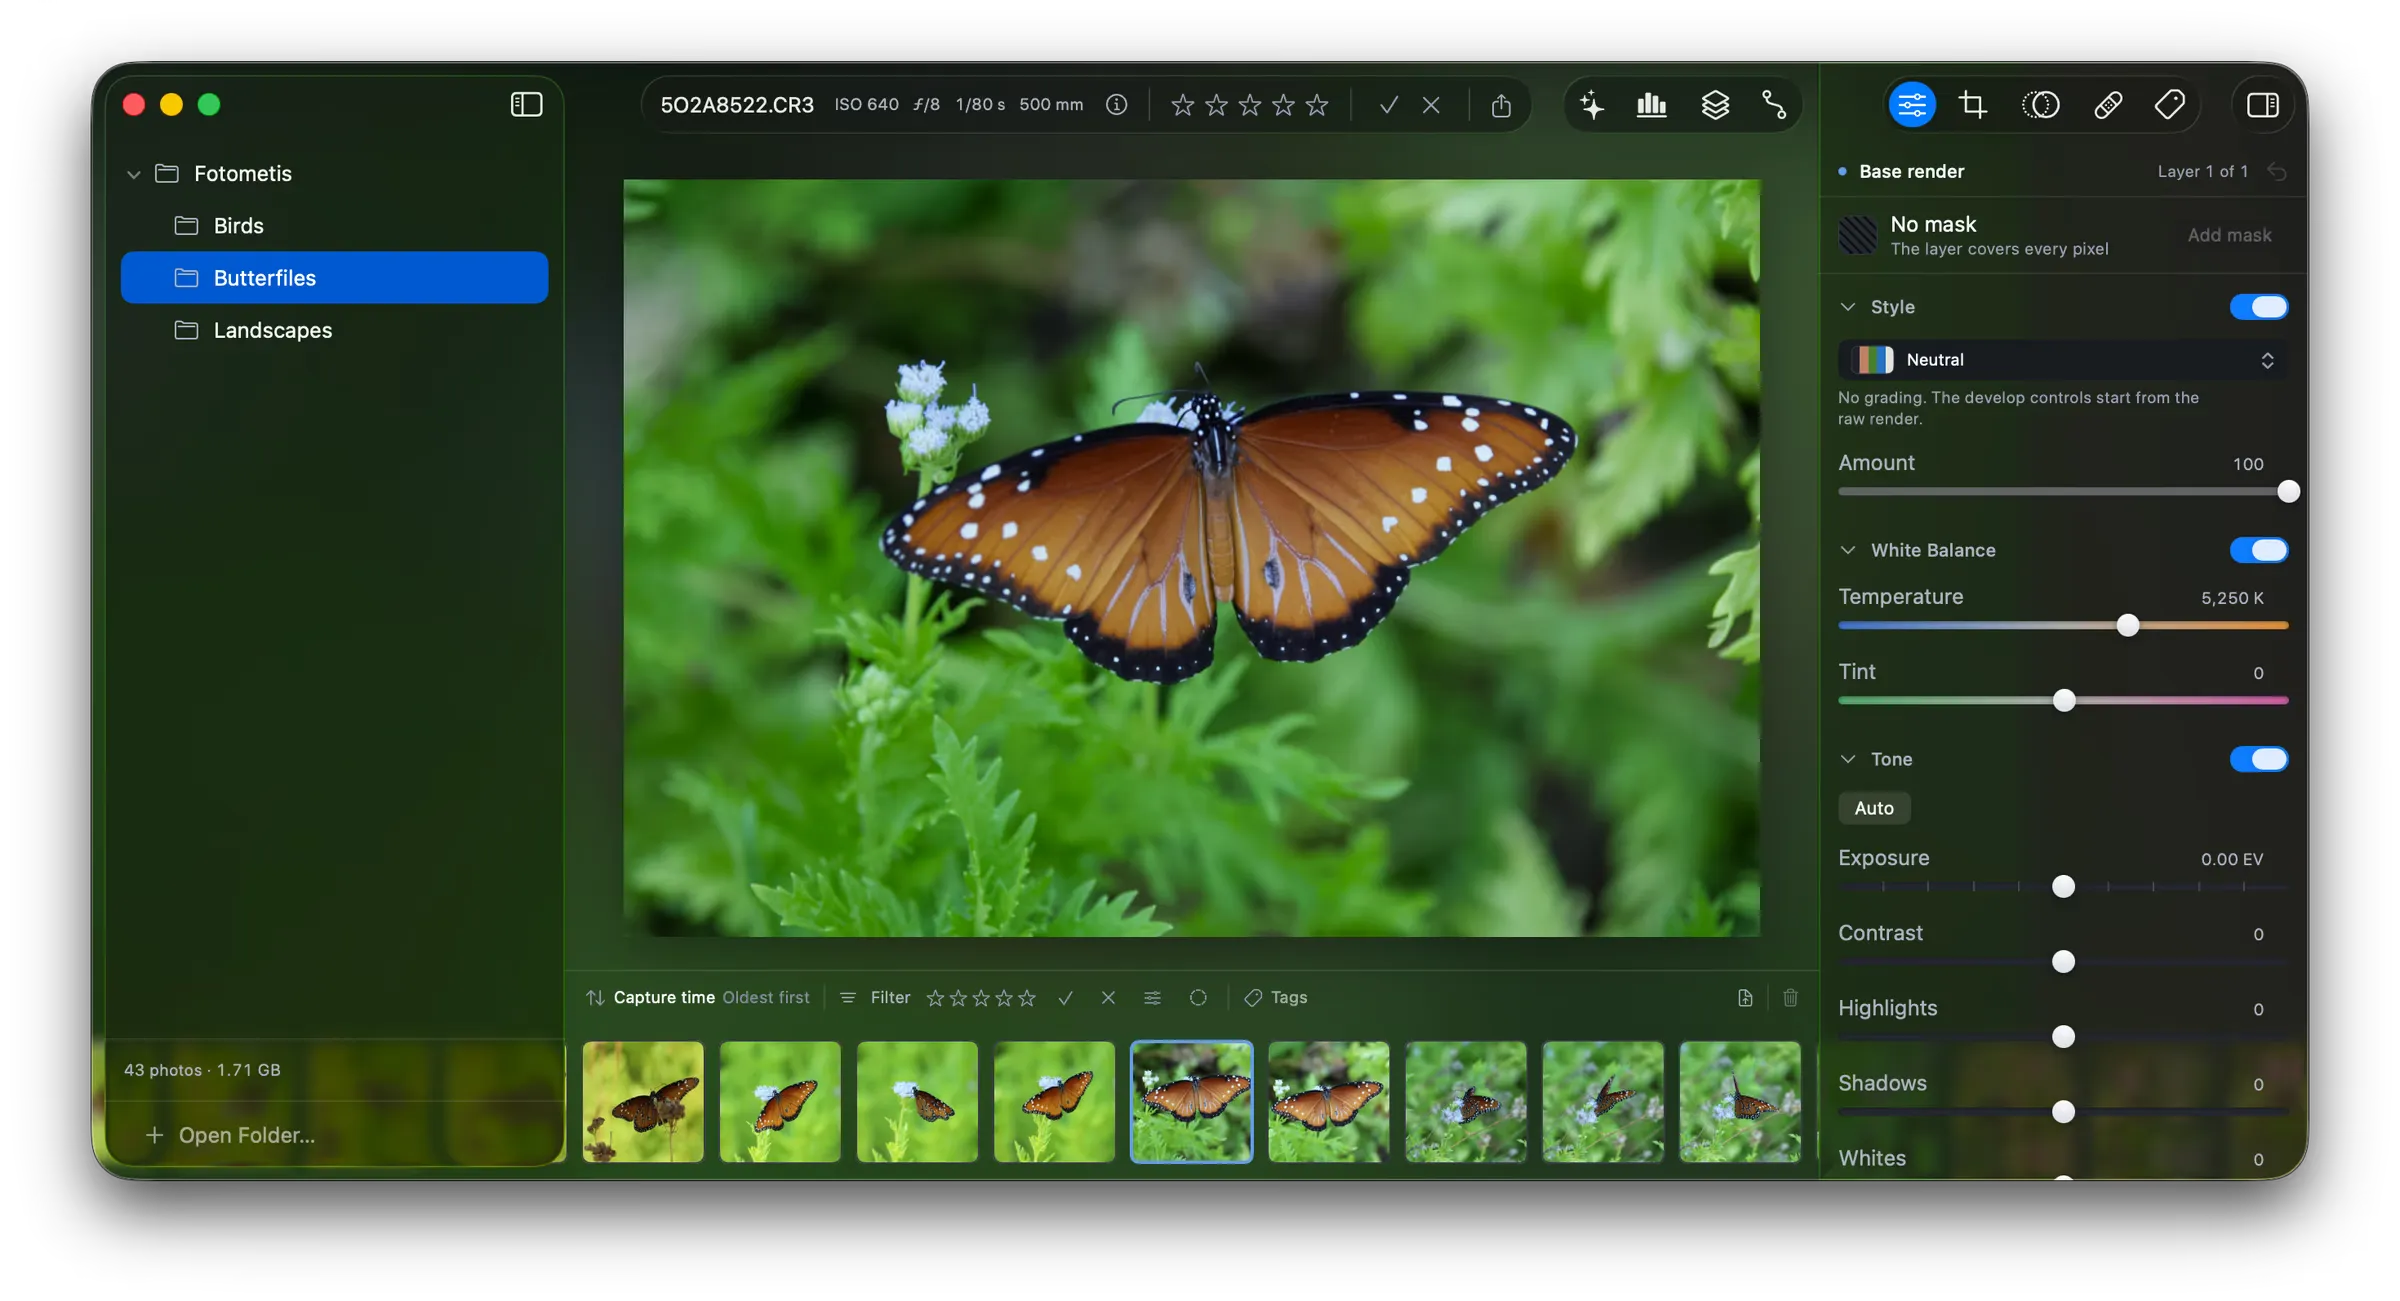
Section titled “See photos in the film reel”Click a folder in the sidebar. The film reel below the canvas fills with the photos in that folder, and the foot of the sidebar counts them.
Click a thumbnail to put that photo on the canvas. To step through the folder without leaving the keyboard, press the right arrow and the left arrow.
Zoom and pan
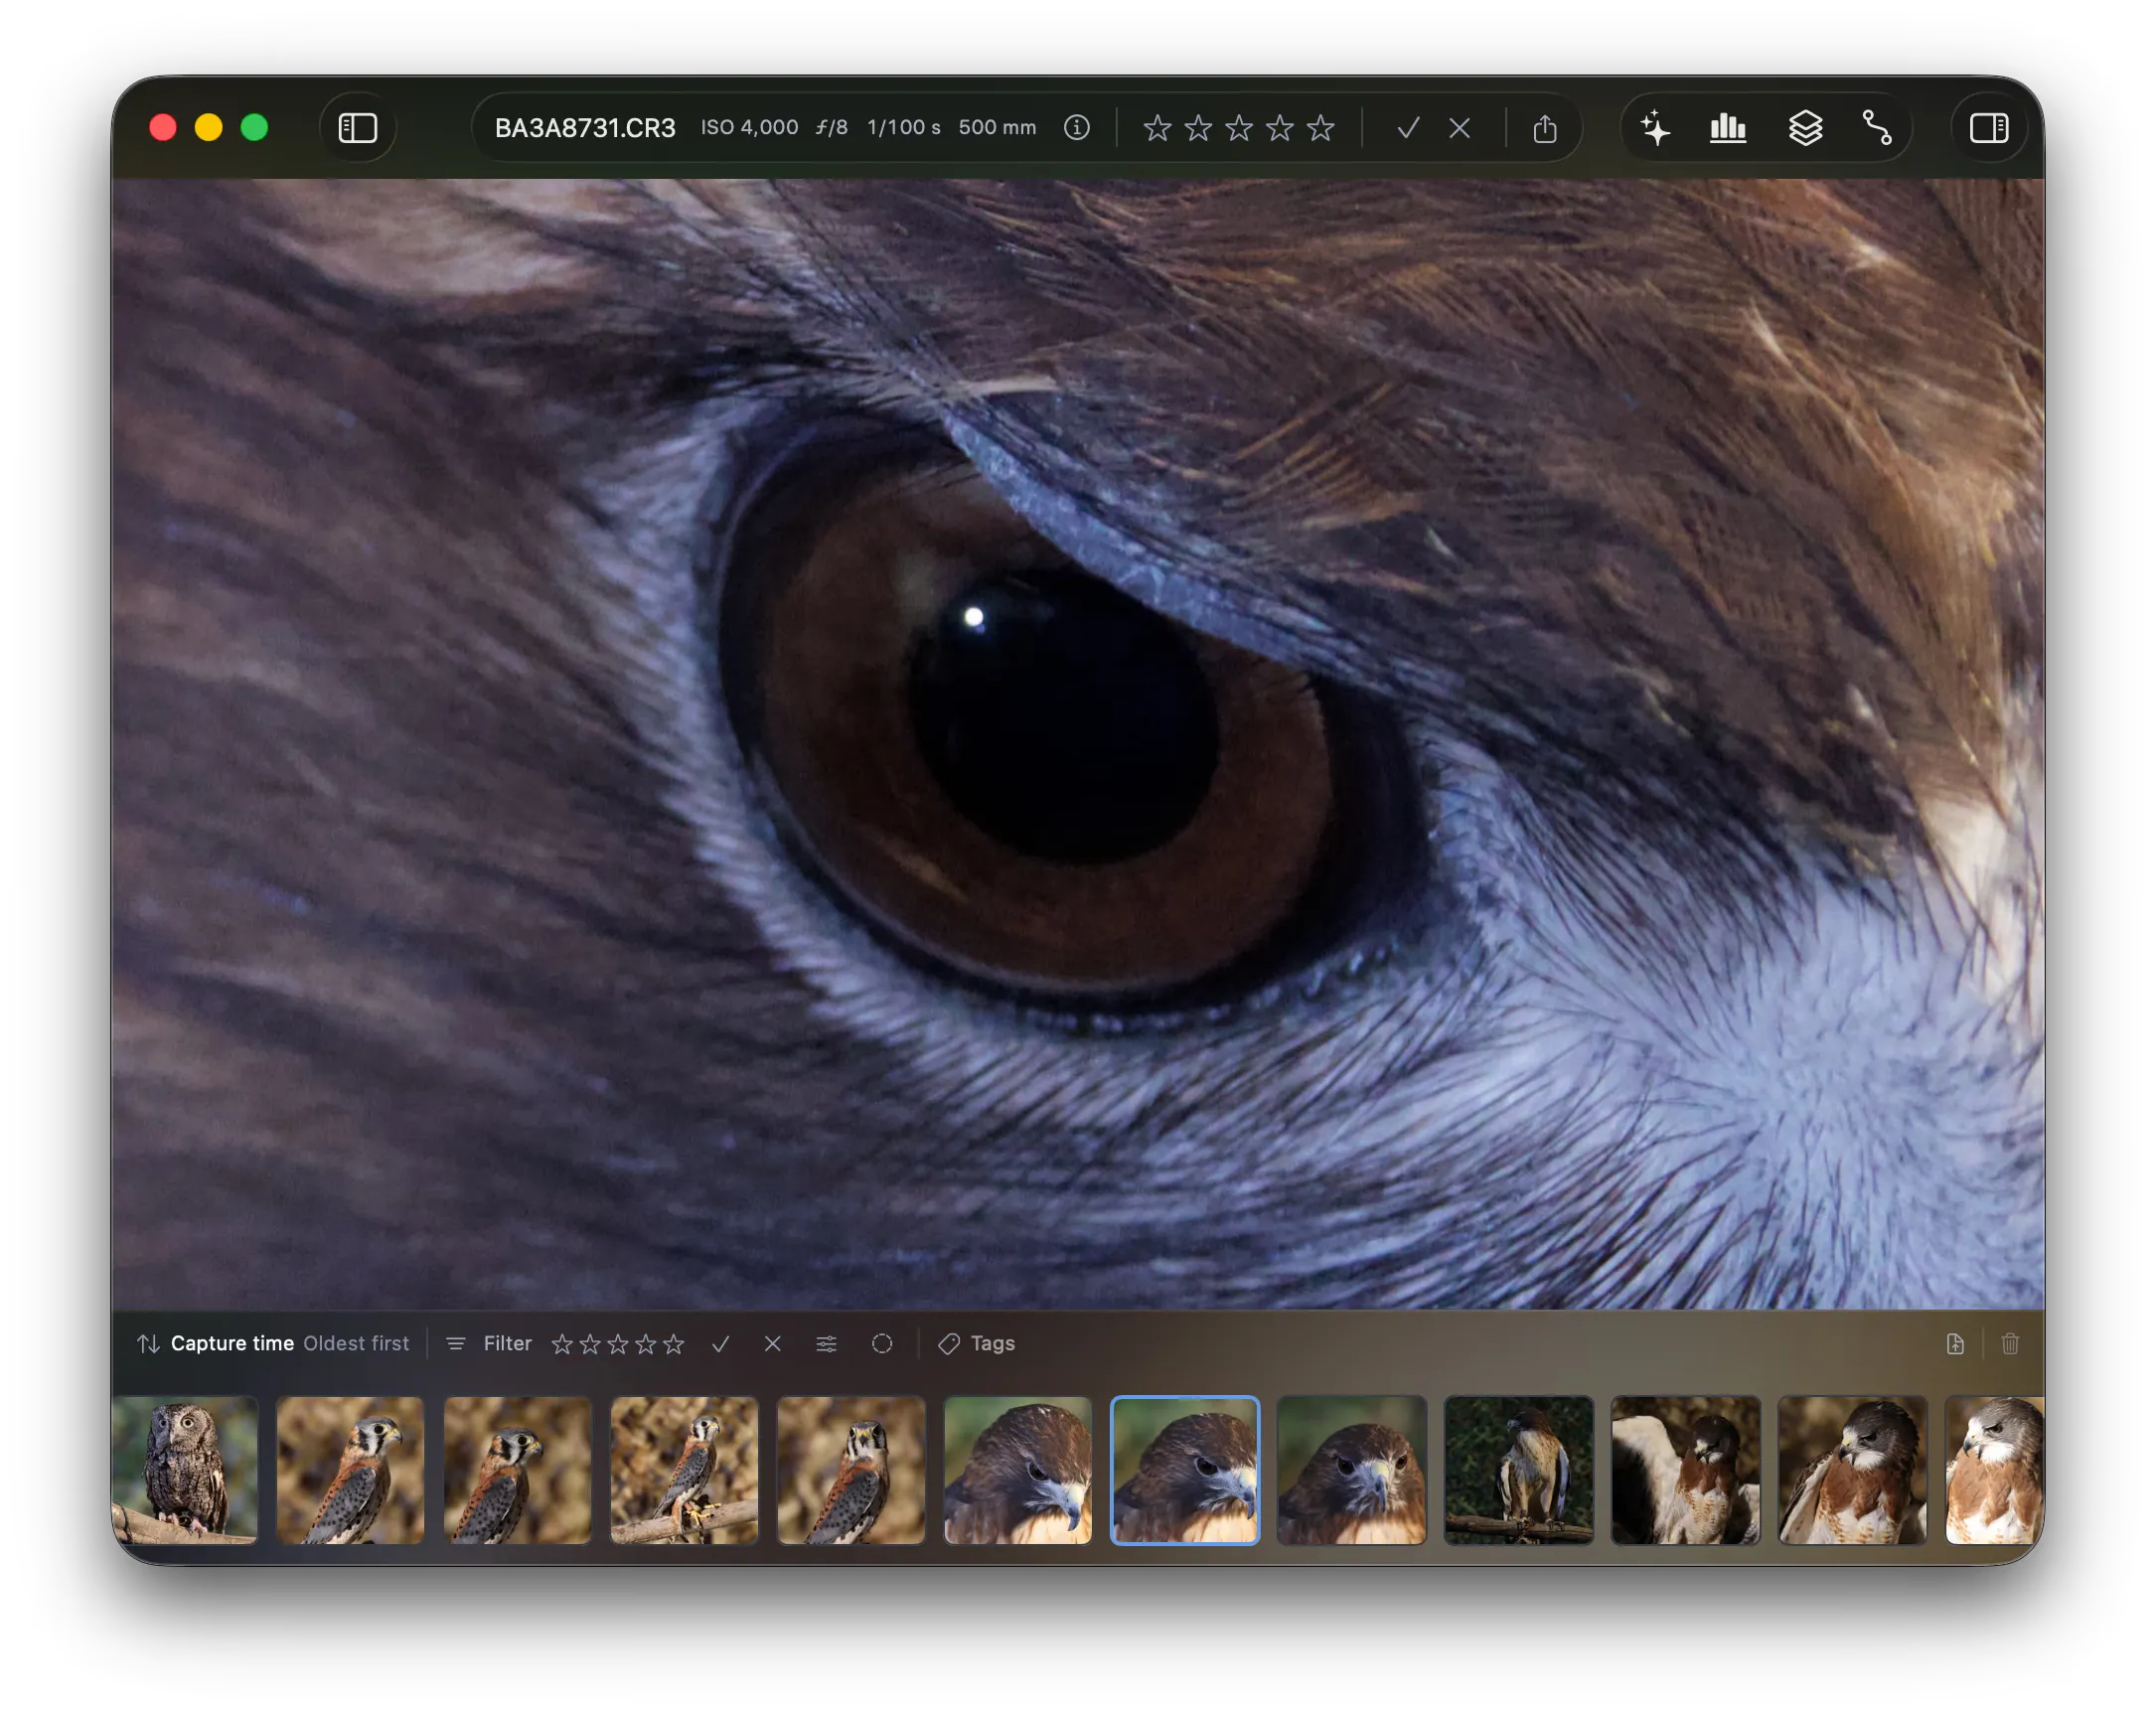
Section titled “Zoom and pan”To pan the photo, click it and drag.
To zoom, pinch on the trackpad. On a mouse, use the scroll wheel.
To change between the fit view and 100%, double-click the photo.
For the zoom steps on the keyboard, see Keyboard shortcuts.
Brighten the shadows
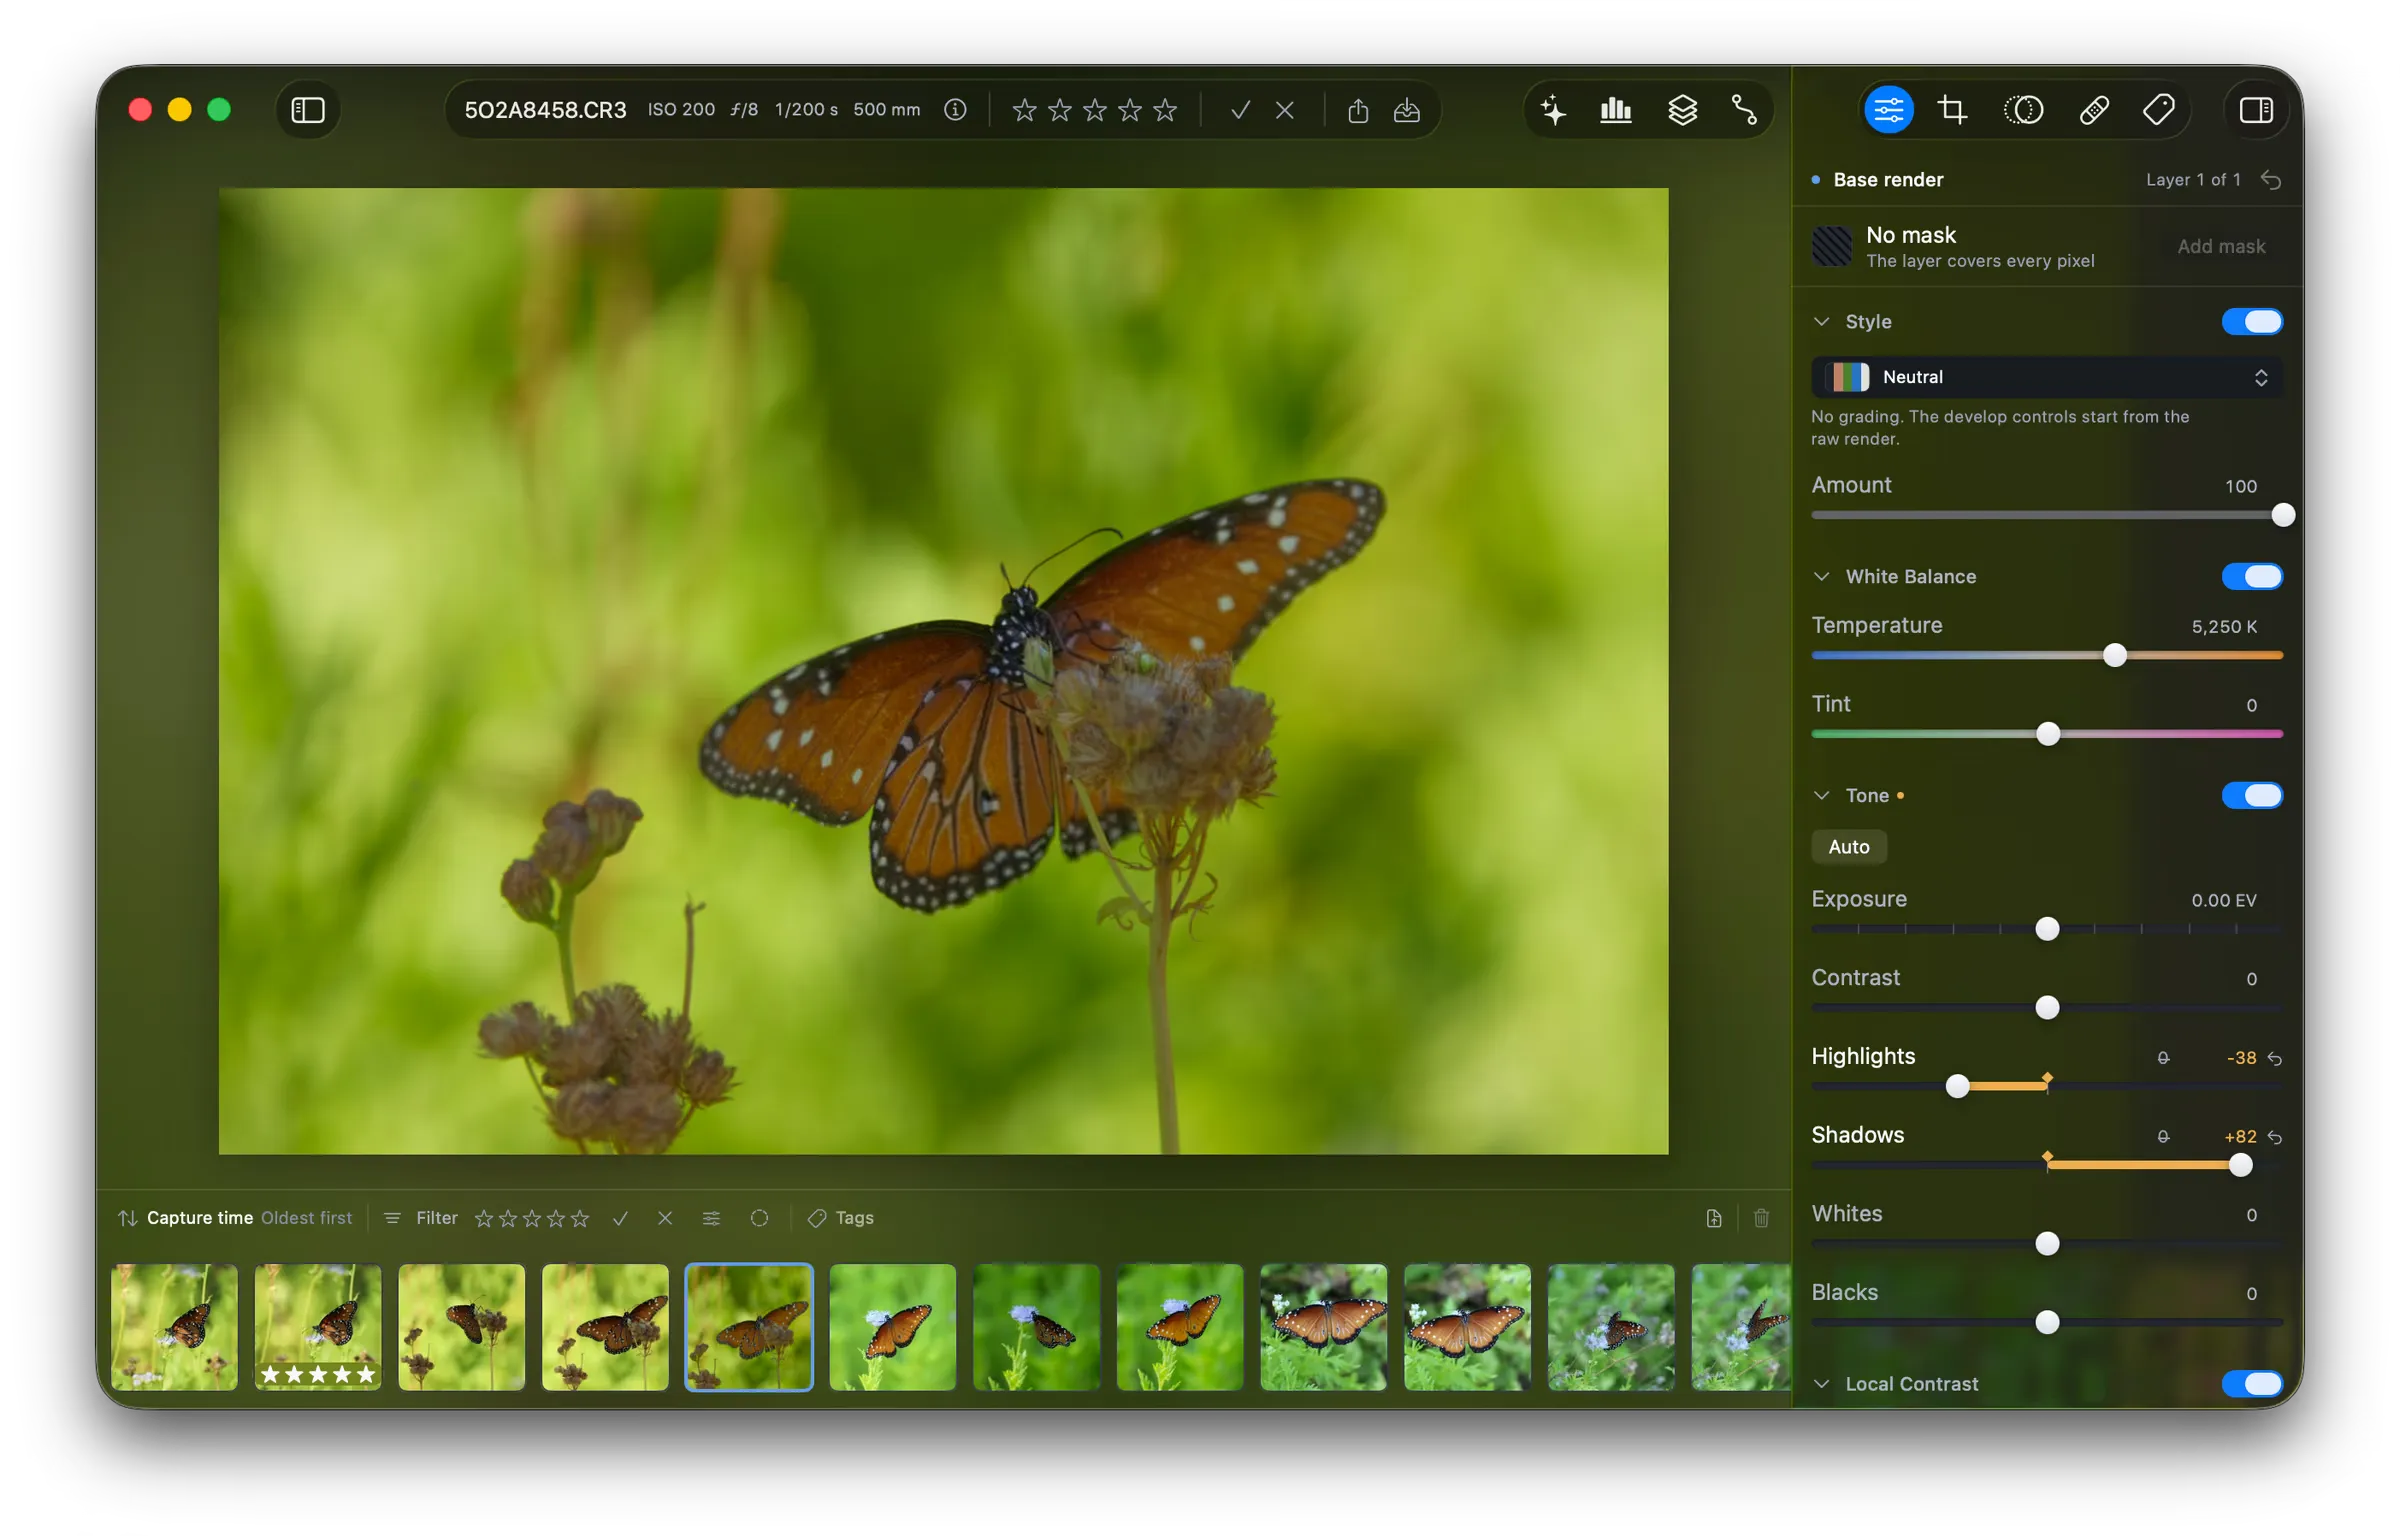
Section titled “Brighten the shadows”Click the first tab of the tool sidebar. The develop controls appear, in groups.
In the Tone group, drag Shadows to the right until the dark parts of the photo open. Then drag Highlights to the left to hold the bright parts. The photo changes as you drag, and a dot appears beside the group name: the group holds a change now.
Ask the assistant for a look
Section titled “Ask the assistant for a look”If the assistant names no model yet, set one up first. See Set up the assistant.
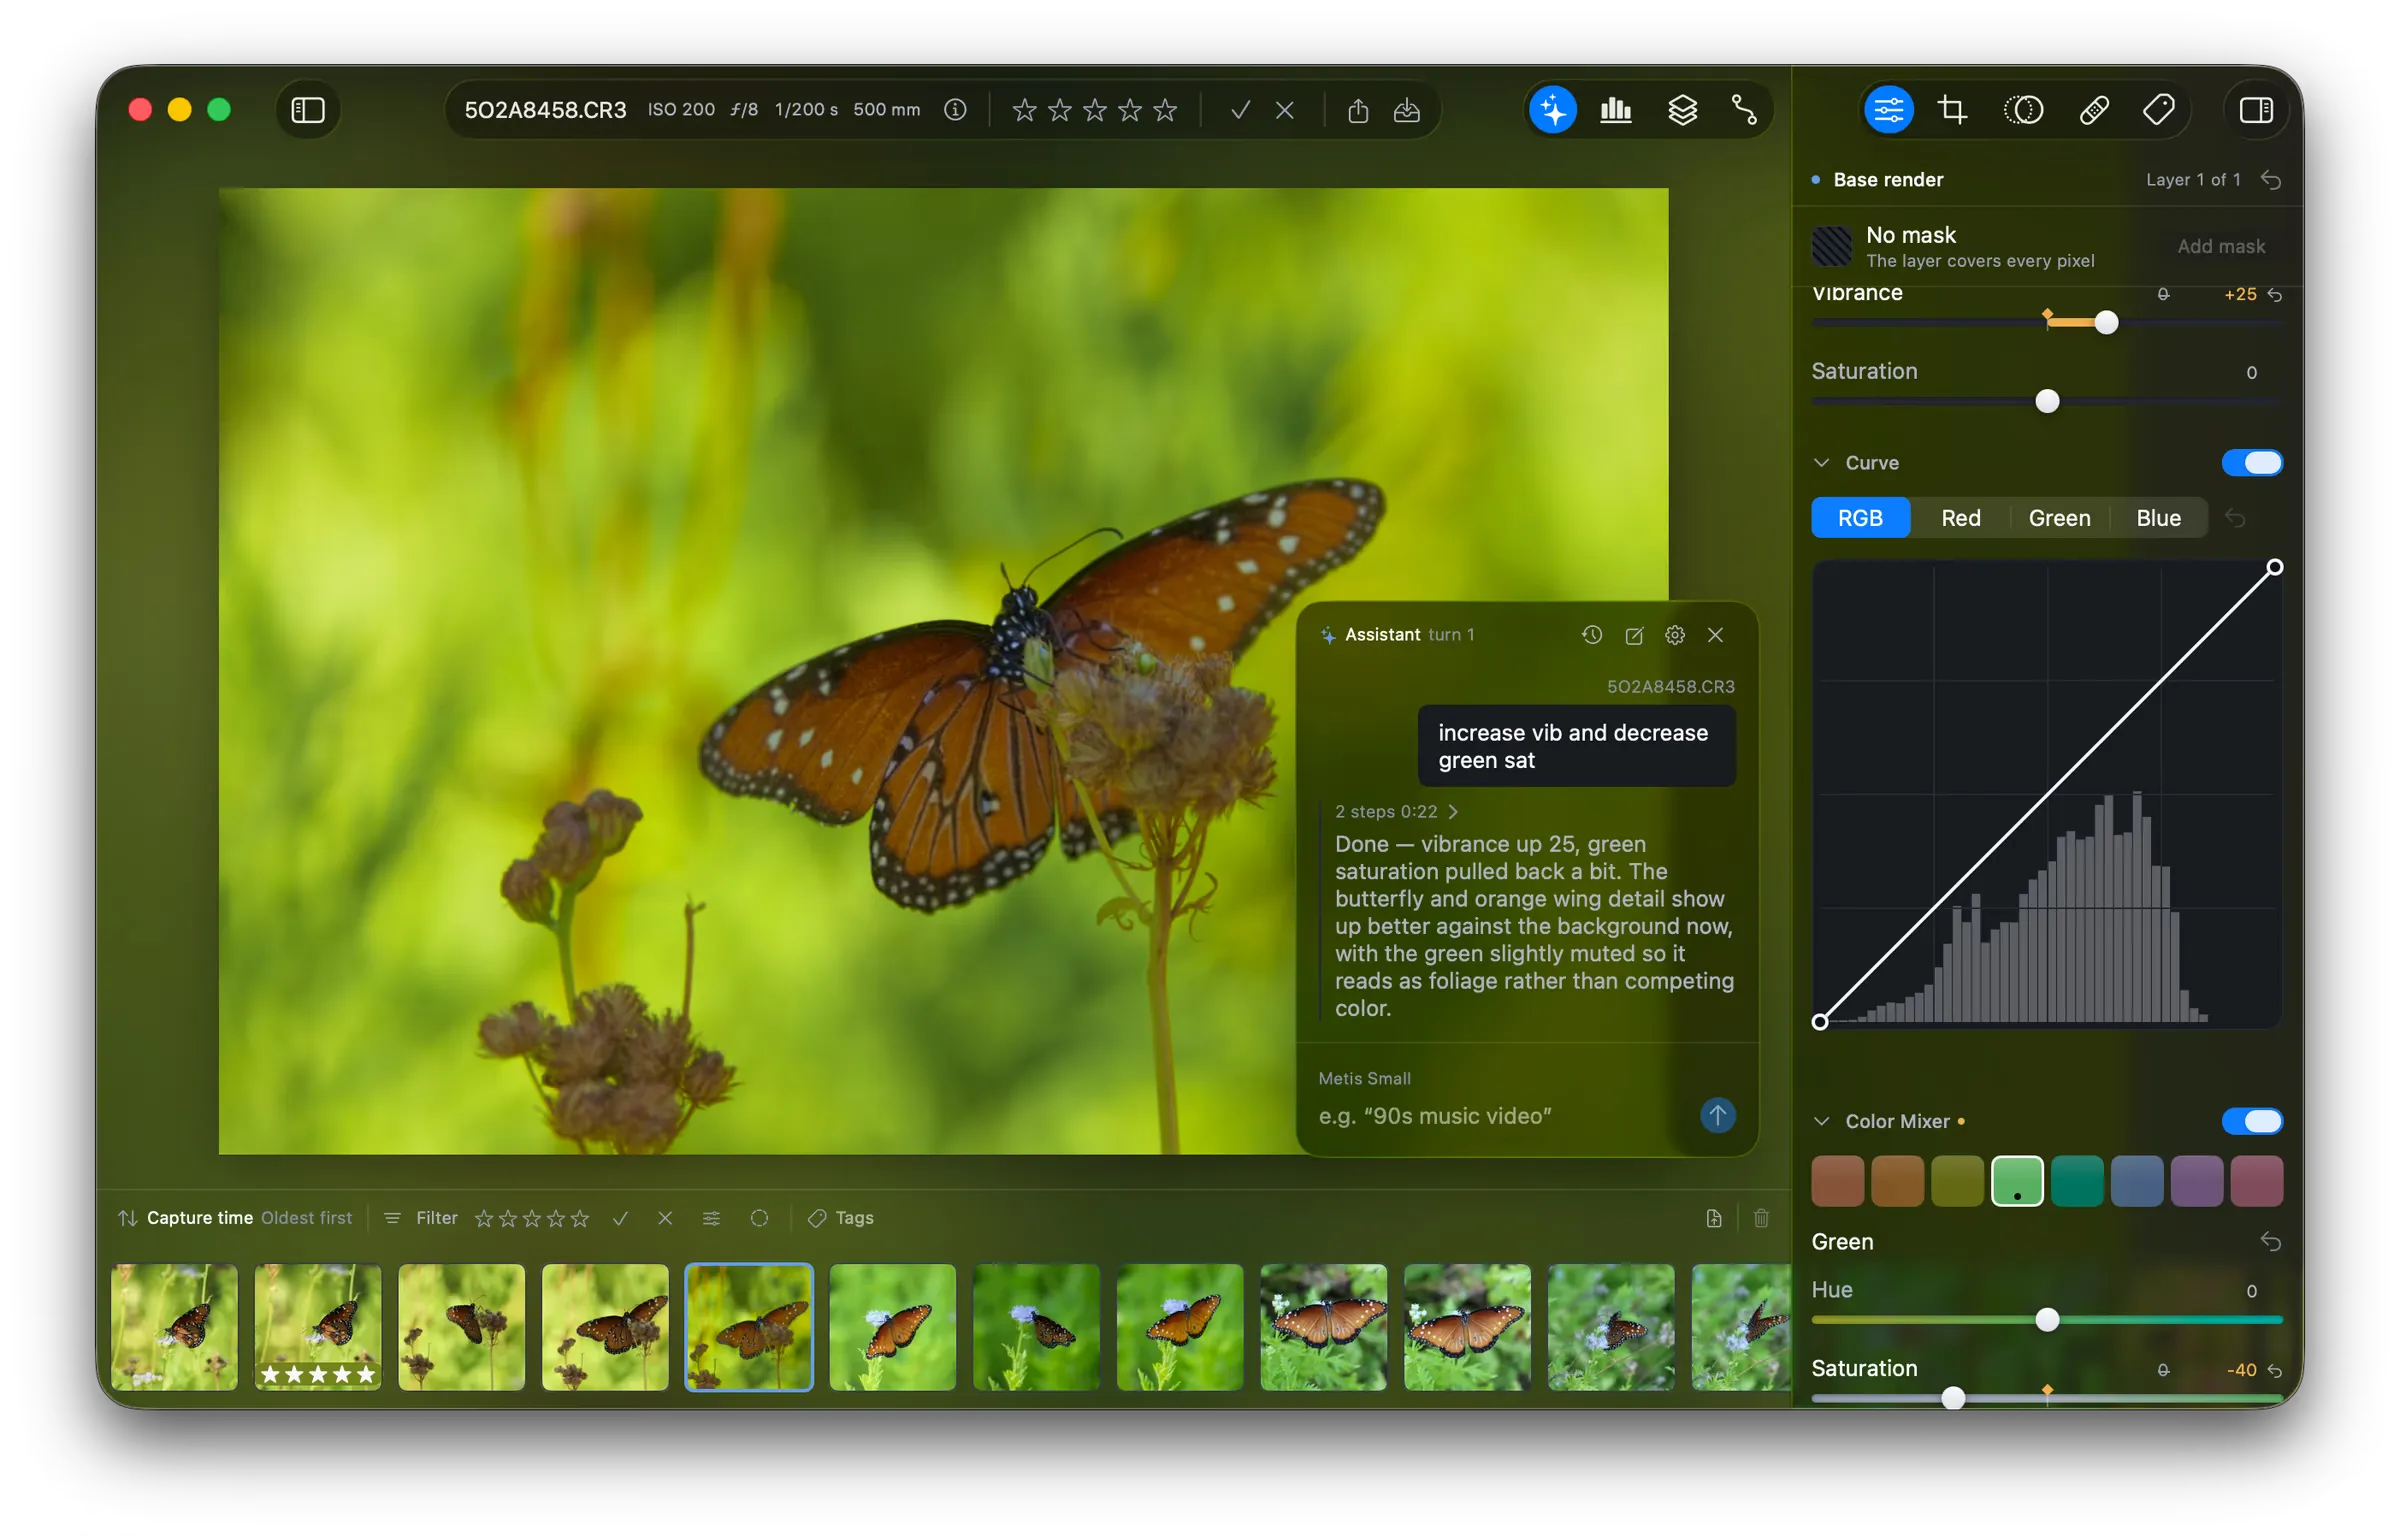
Click the sparkles button in the pane bar, or press /. The assistant pane opens over the photo.
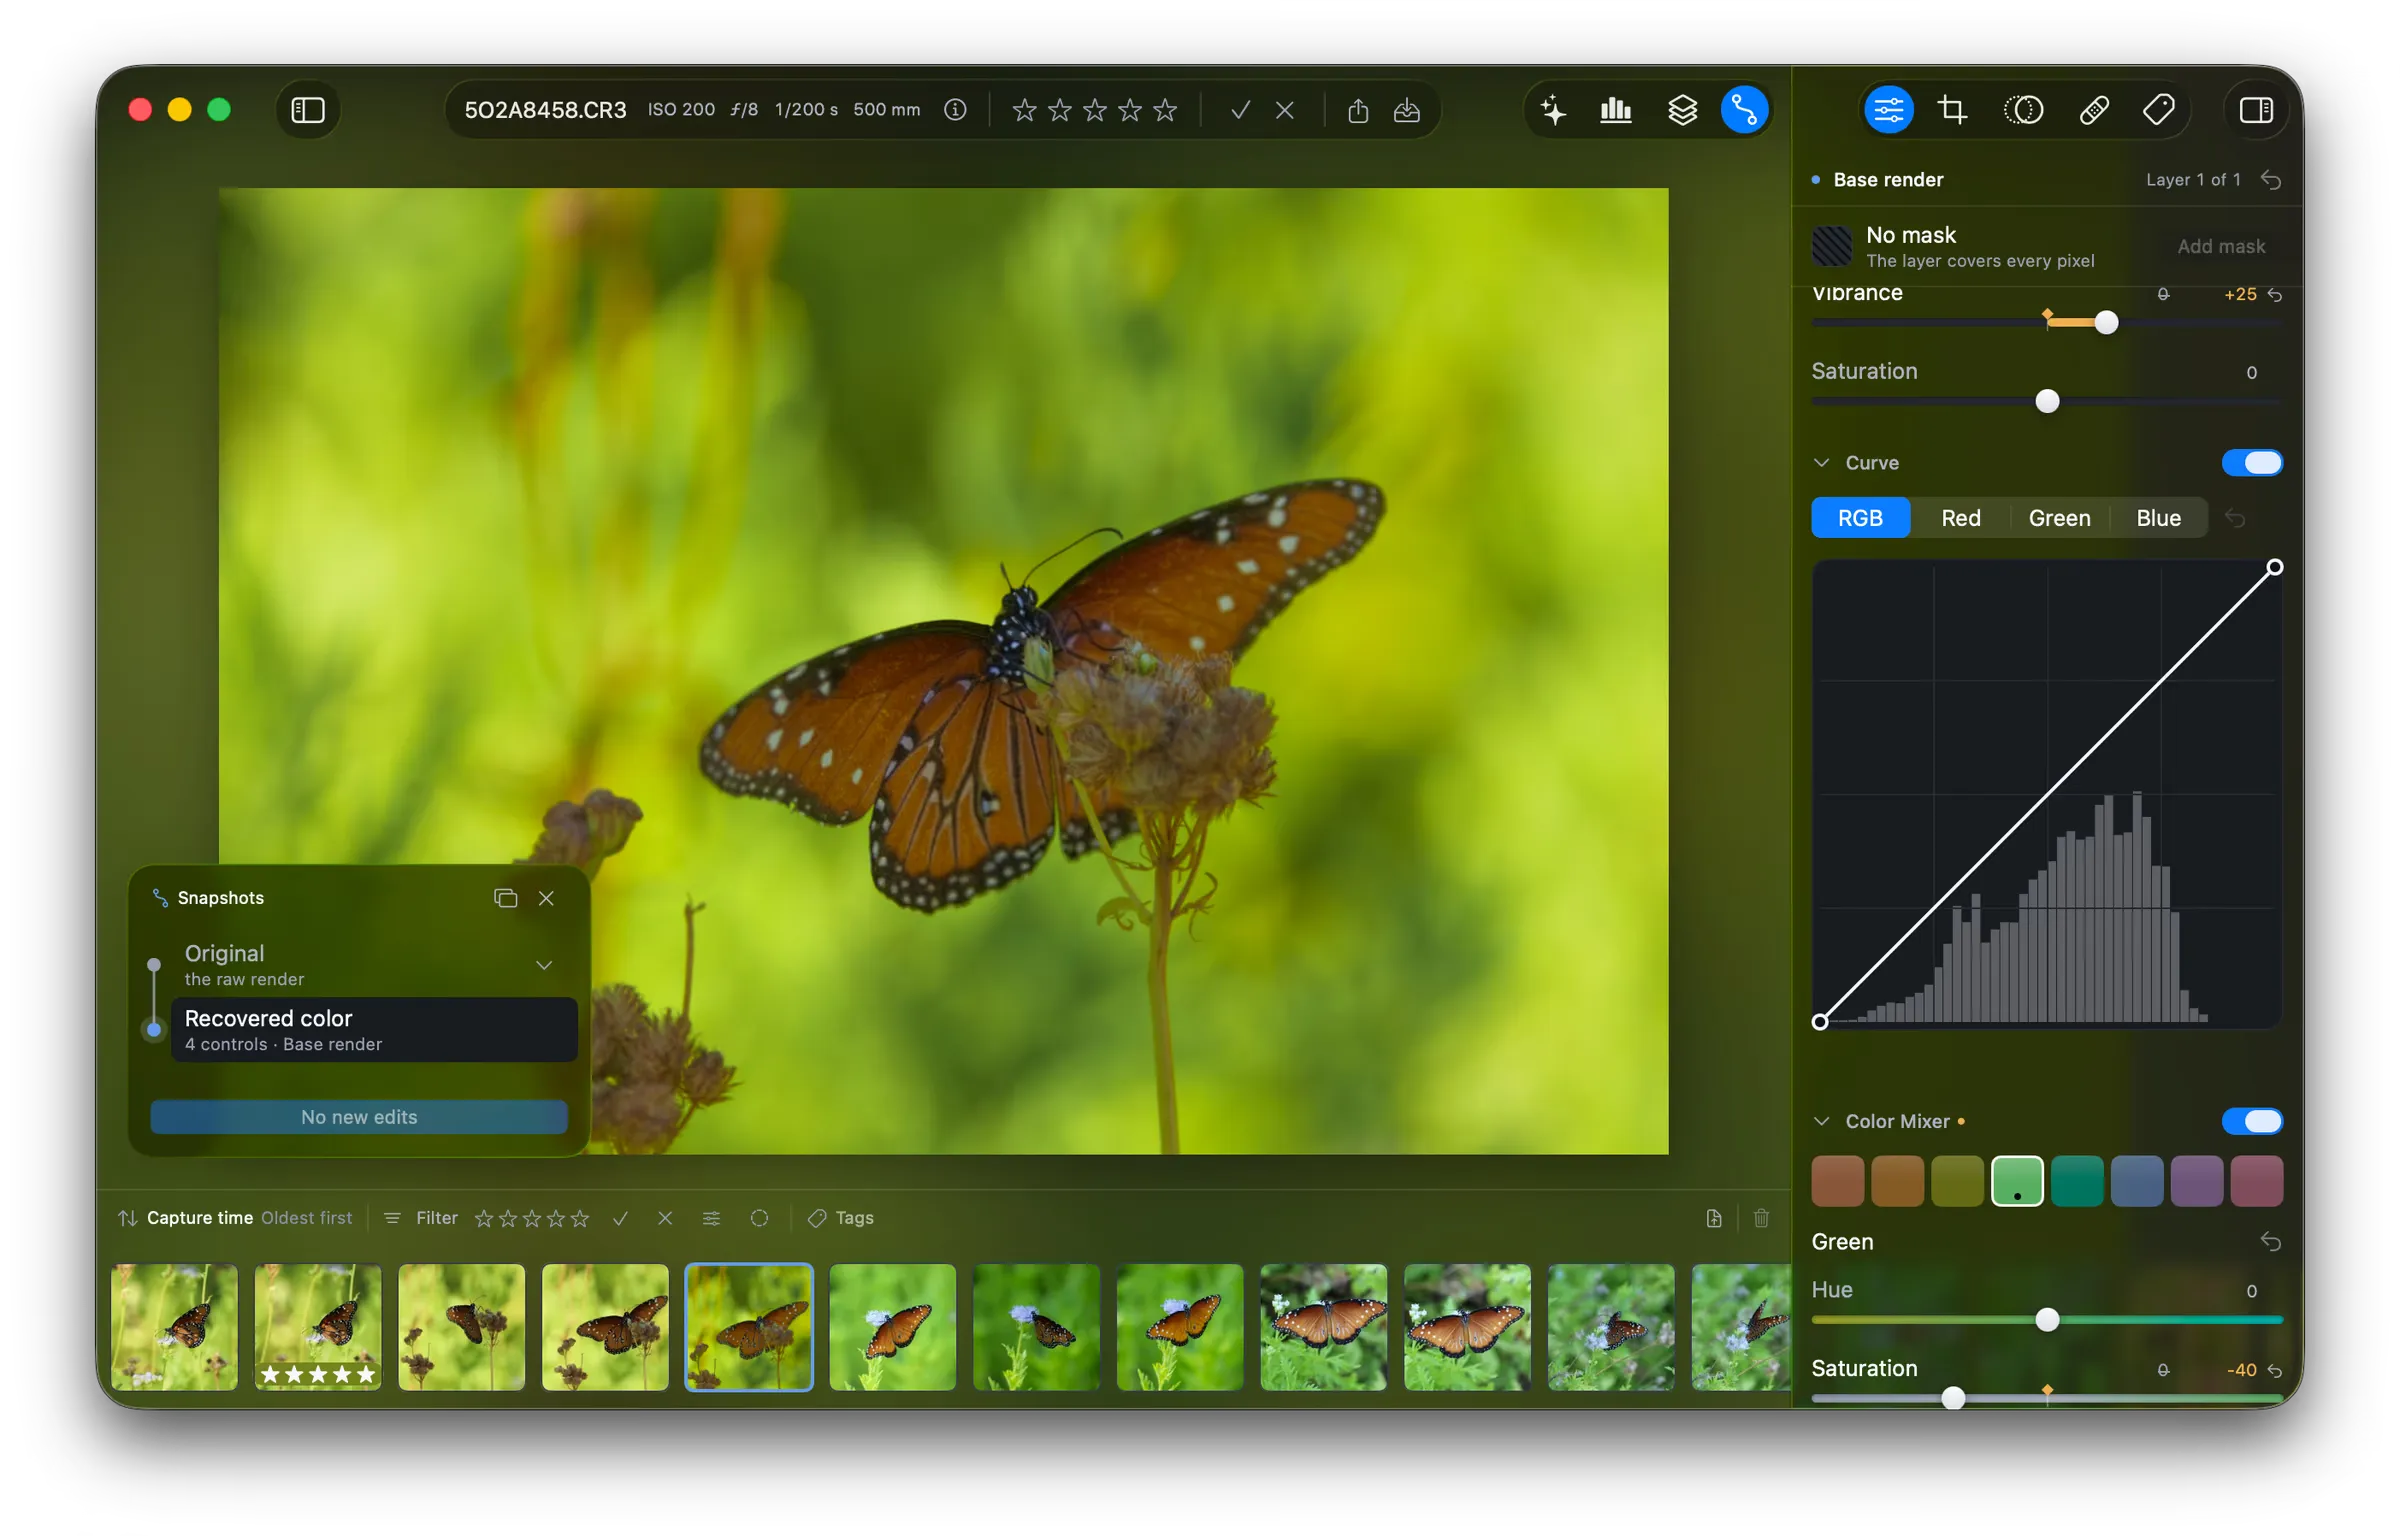
Type increase vib and decrease green sat, then press Return. The
assistant moves the controls and reports what it did. In the tool sidebar,
Vibrance and the green band of the Color Mixer now carry a change.
Save a snapshot
Section titled “Save a snapshot”Click the snapshots button in the pane bar. The pane opens with two rows: Original, and Working edits, which holds your changes.
Click Save snapshot. The row is saved, and the button reads No new edits. Double-click the name to give the snapshot one, for example “Recovered color”. Click Original to see the photo as it started, then click your snapshot to come back.