
Export a photo
To share a photo or to print it, export it to a new file. Fotometis develops the photo, applies the snapshot you selected, then writes the result. The raw file never changes.
Open the export sheet
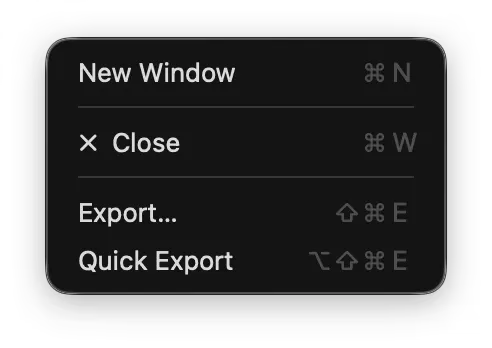
Section titled “Open the export sheet”Open the File menu, then click Export…. The shortcut is ⇧⌘E. Quick Export, below it, opens no sheet. See Export again with the same settings.
The export button at the right of the film reel bar opens the same sheet, already set to the reel. The icon is a document with an arrow that points up. Use it to export many photos at once.
Pick what to export
Section titled “Pick what to export”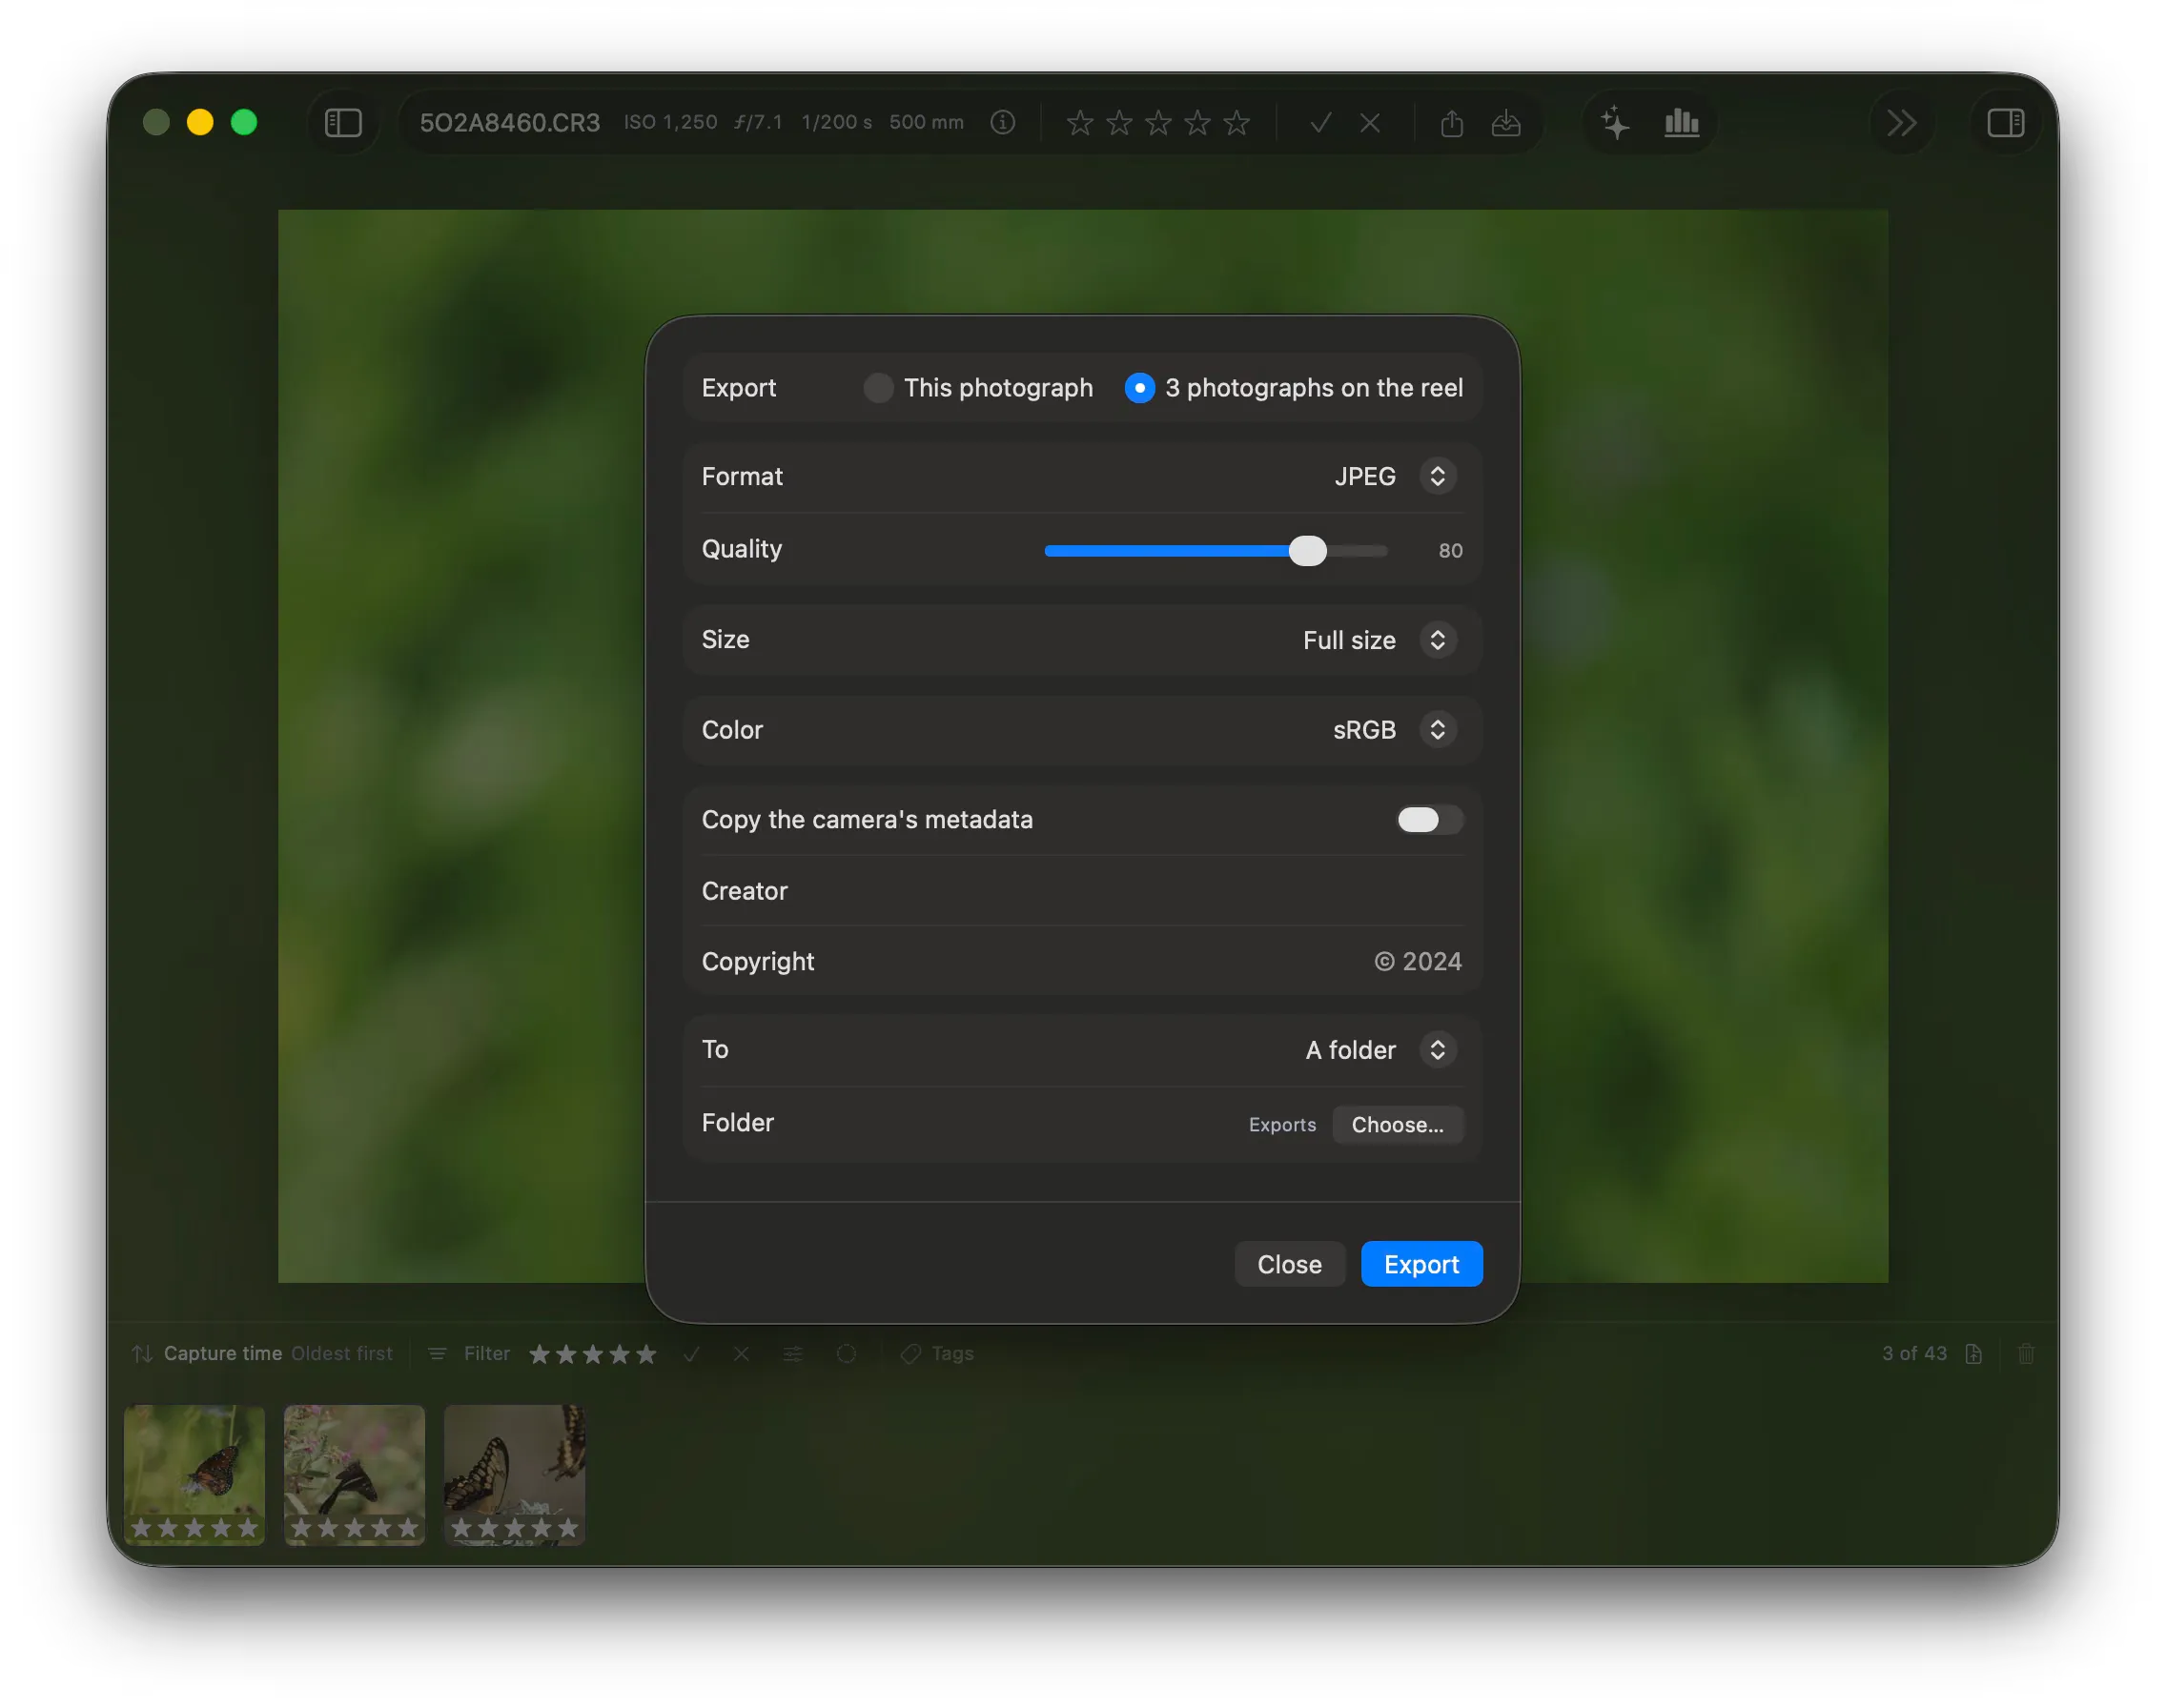
Export at the top of the sheet takes one photo or the whole reel. The second option counts the reel, for example “3 photographs on the reel”. The film reel filter decides that count. See Organize photos.
Fotometis exports each photo at the snapshot you selected for it. In a batch, each photo carries its own snapshot. Check the snapshot of each photo before you export a batch. See Save and restore an edit.
Set the format
Section titled “Set the format”| Format | What it is for |
|---|---|
| JPEG | Opens anywhere. |
| HEIC | Smaller than JPEG at the same quality. Apple platforms and recent Windows. |
| AVIF | The smallest of the three. Every current browser opens it. Some desktop software does not. |
All three formats carry an ISO 21496-1 gain map, so an HDR photo keeps its headroom in any of them. See Create an HDR photo.
Quality runs from 0 to 100. For print, use 80 to 100. For the web and for a small screen, 60 can be enough. A lower quality makes a smaller file, and it leaves compression artifacts in the photo.
Set the size and the color
Section titled “Set the size and the color”Size takes Full size, Long edge, or Short edge. Long edge and Short edge add a field for the number of pixels.
Color takes Display P3, sRGB, or Adobe RGB.
Set the metadata
Section titled “Set the metadata”| Field | Effect |
|---|---|
| Copy the camera’s metadata | Writes what the camera recorded into the new file. |
| Creator | Names who made the photo. |
| Copyright | Holds the notice. |
A blank Copyright field writes the creator and the year of capture.
Pick the destination
Section titled “Pick the destination”Fotometis writes the new photo to a folder on disk, or straight into Apple Photos.
To picks between them. For a folder, click Choose… and pick the folder. For Photos, pick No album, an album you already have, or New Album…. New Album adds a field for the name.
Start the export
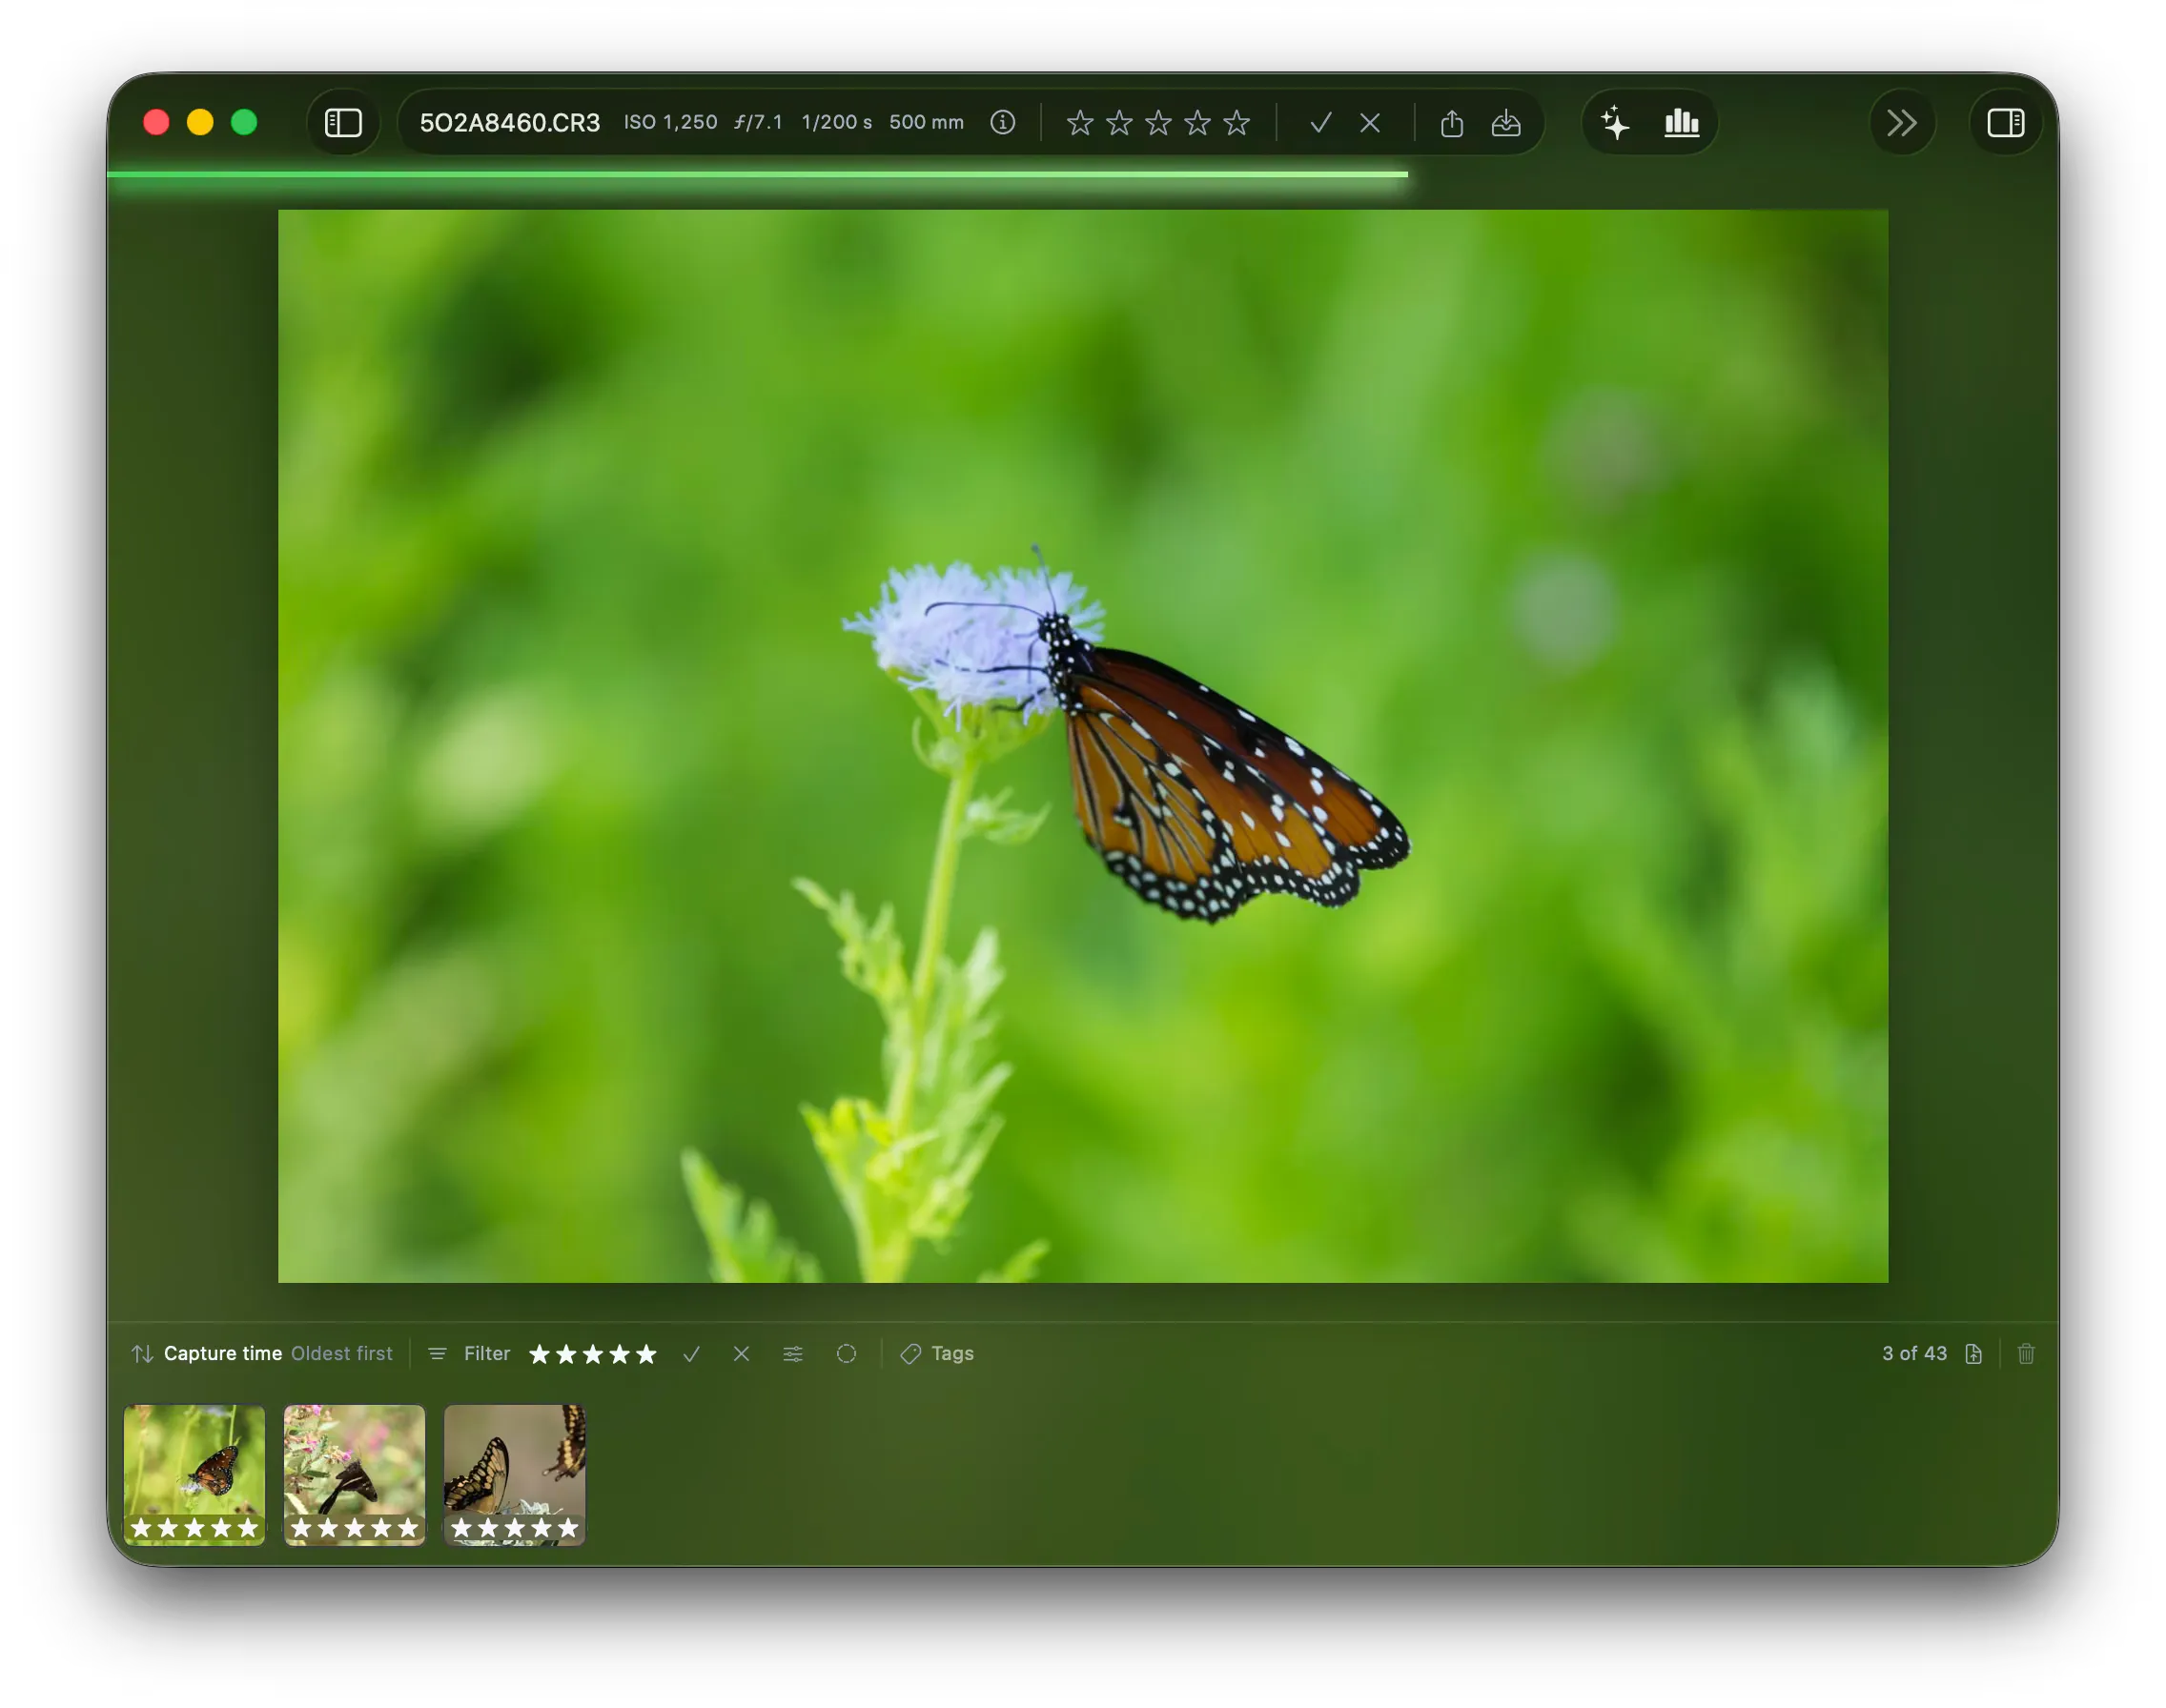
Section titled “Start the export”Click Export. A green bar shows the progress of the export.
Export again with the same settings
Section titled “Export again with the same settings”Quick Export writes the photo on the canvas with the settings of the last export. It opens no sheet. It is in the File menu on ⌥⇧⌘E, and it is the button beside the share button in the top bar.