
Delete photos
Fotometis deletes a rejected photo only. Reject the photos you do not want, filter the film reel to the rejected photos, then move them to the Trash. The reject mark is a guard against an accidental delete.
Reject a photo
Section titled “Reject a photo”- Click the photo’s thumbnail in the film reel.
- Press X, or click the cross in the top bar.
To remove the reject mark, press U. See Organize photos.
Filter the film reel to the rejected photos
Section titled “Filter the film reel to the rejected photos”Click the cross under Filter in the film reel bar. The film reel then holds the rejected photos, and the right of the bar counts them, for example “3 of 121”.
The trash button stays inactive while the filter holds any other photo. You can narrow the reel further, for example the rejected photos with two stars, or the rejected photos that carry a tag. The reject filter must stay on.
Move the photos to the Trash
Section titled “Move the photos to the Trash”- Click the trash button at the right of the film reel bar.
- Read the question, for example “Move 3 photographs to the Trash?”.
- Click Move to Trash. To stop, click Cancel.
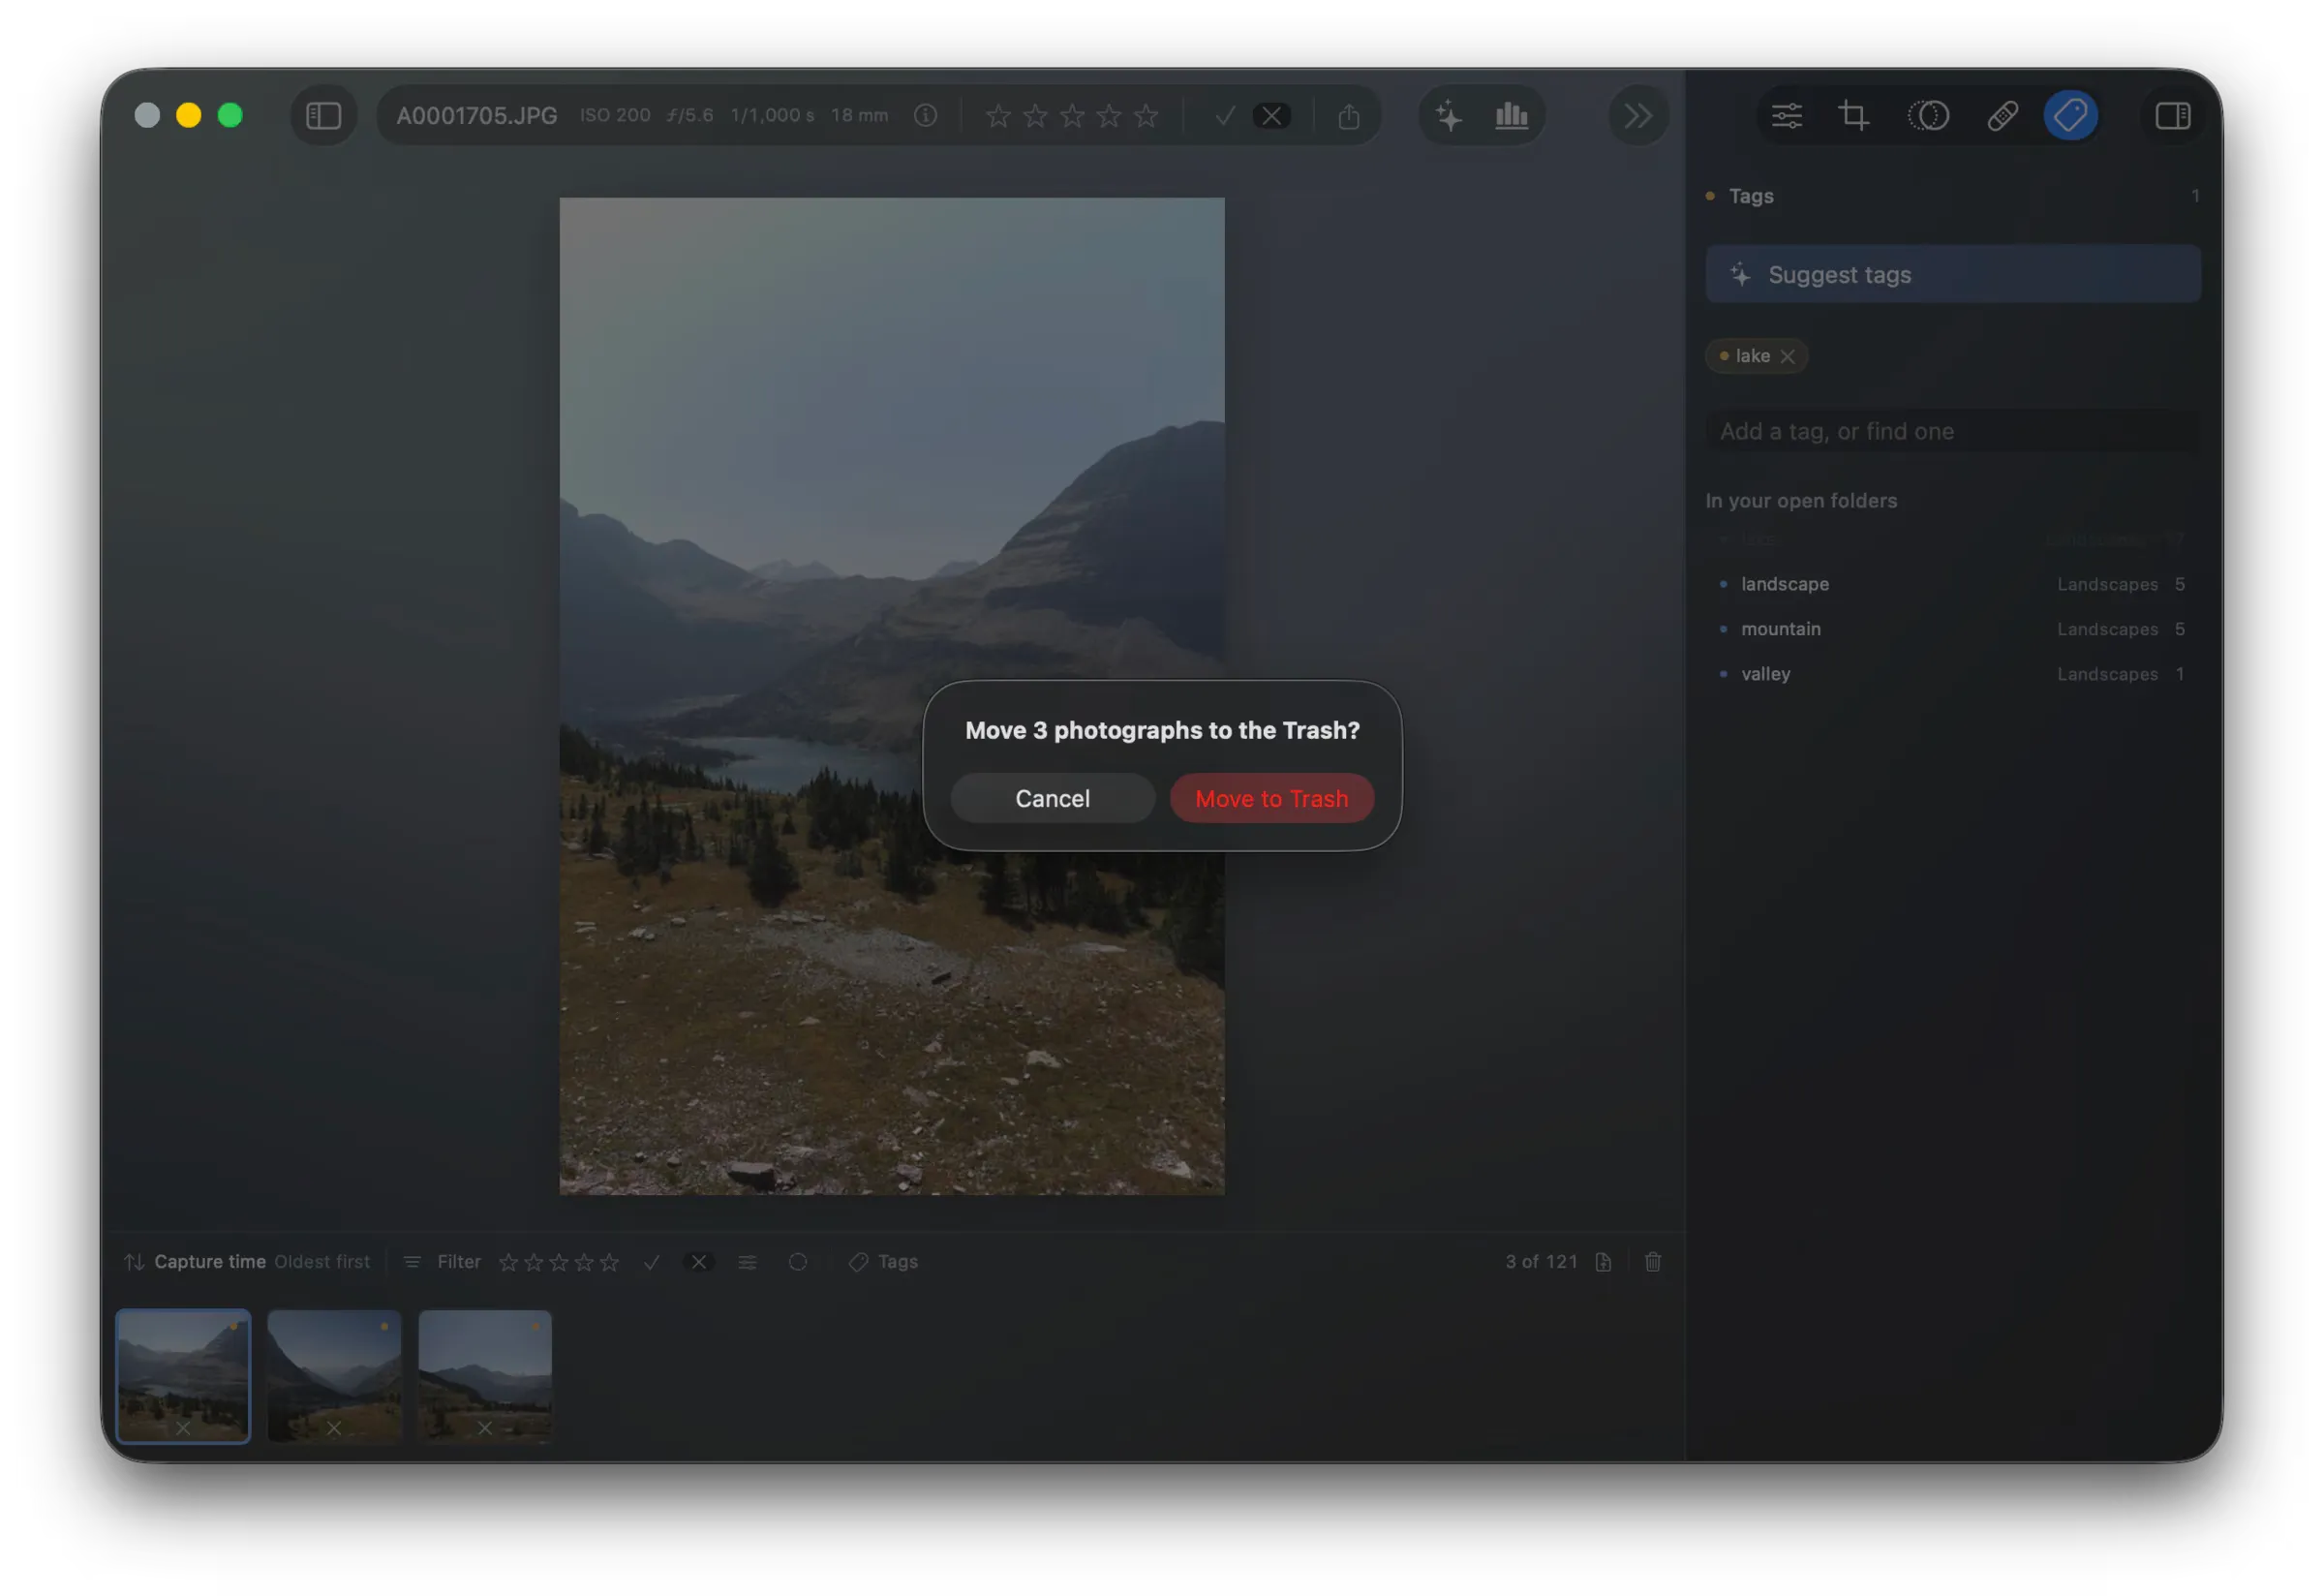
Fotometis moves every photo in the film reel to the macOS Trash.
Get a photo back
Section titled “Get a photo back”The photo stays in the macOS Trash, so you can put it back in its folder. Fotometis has no command that erases a file. When macOS erases the Trash, the photo is gone.
The photo’s .fmx file goes to the Trash with it, so the rating, the flag, and the snapshots go too. Put both files back to get the edits back.
The XMP file stays in the folder, and the photo’s tags stay in that file. See About sidecar files.