
Add layers and masks
A layer holds a set of develop controls. A mask says where the layer applies. To edit one part of a photo, add a layer, mask it, then move the controls.
Open the Layers pane
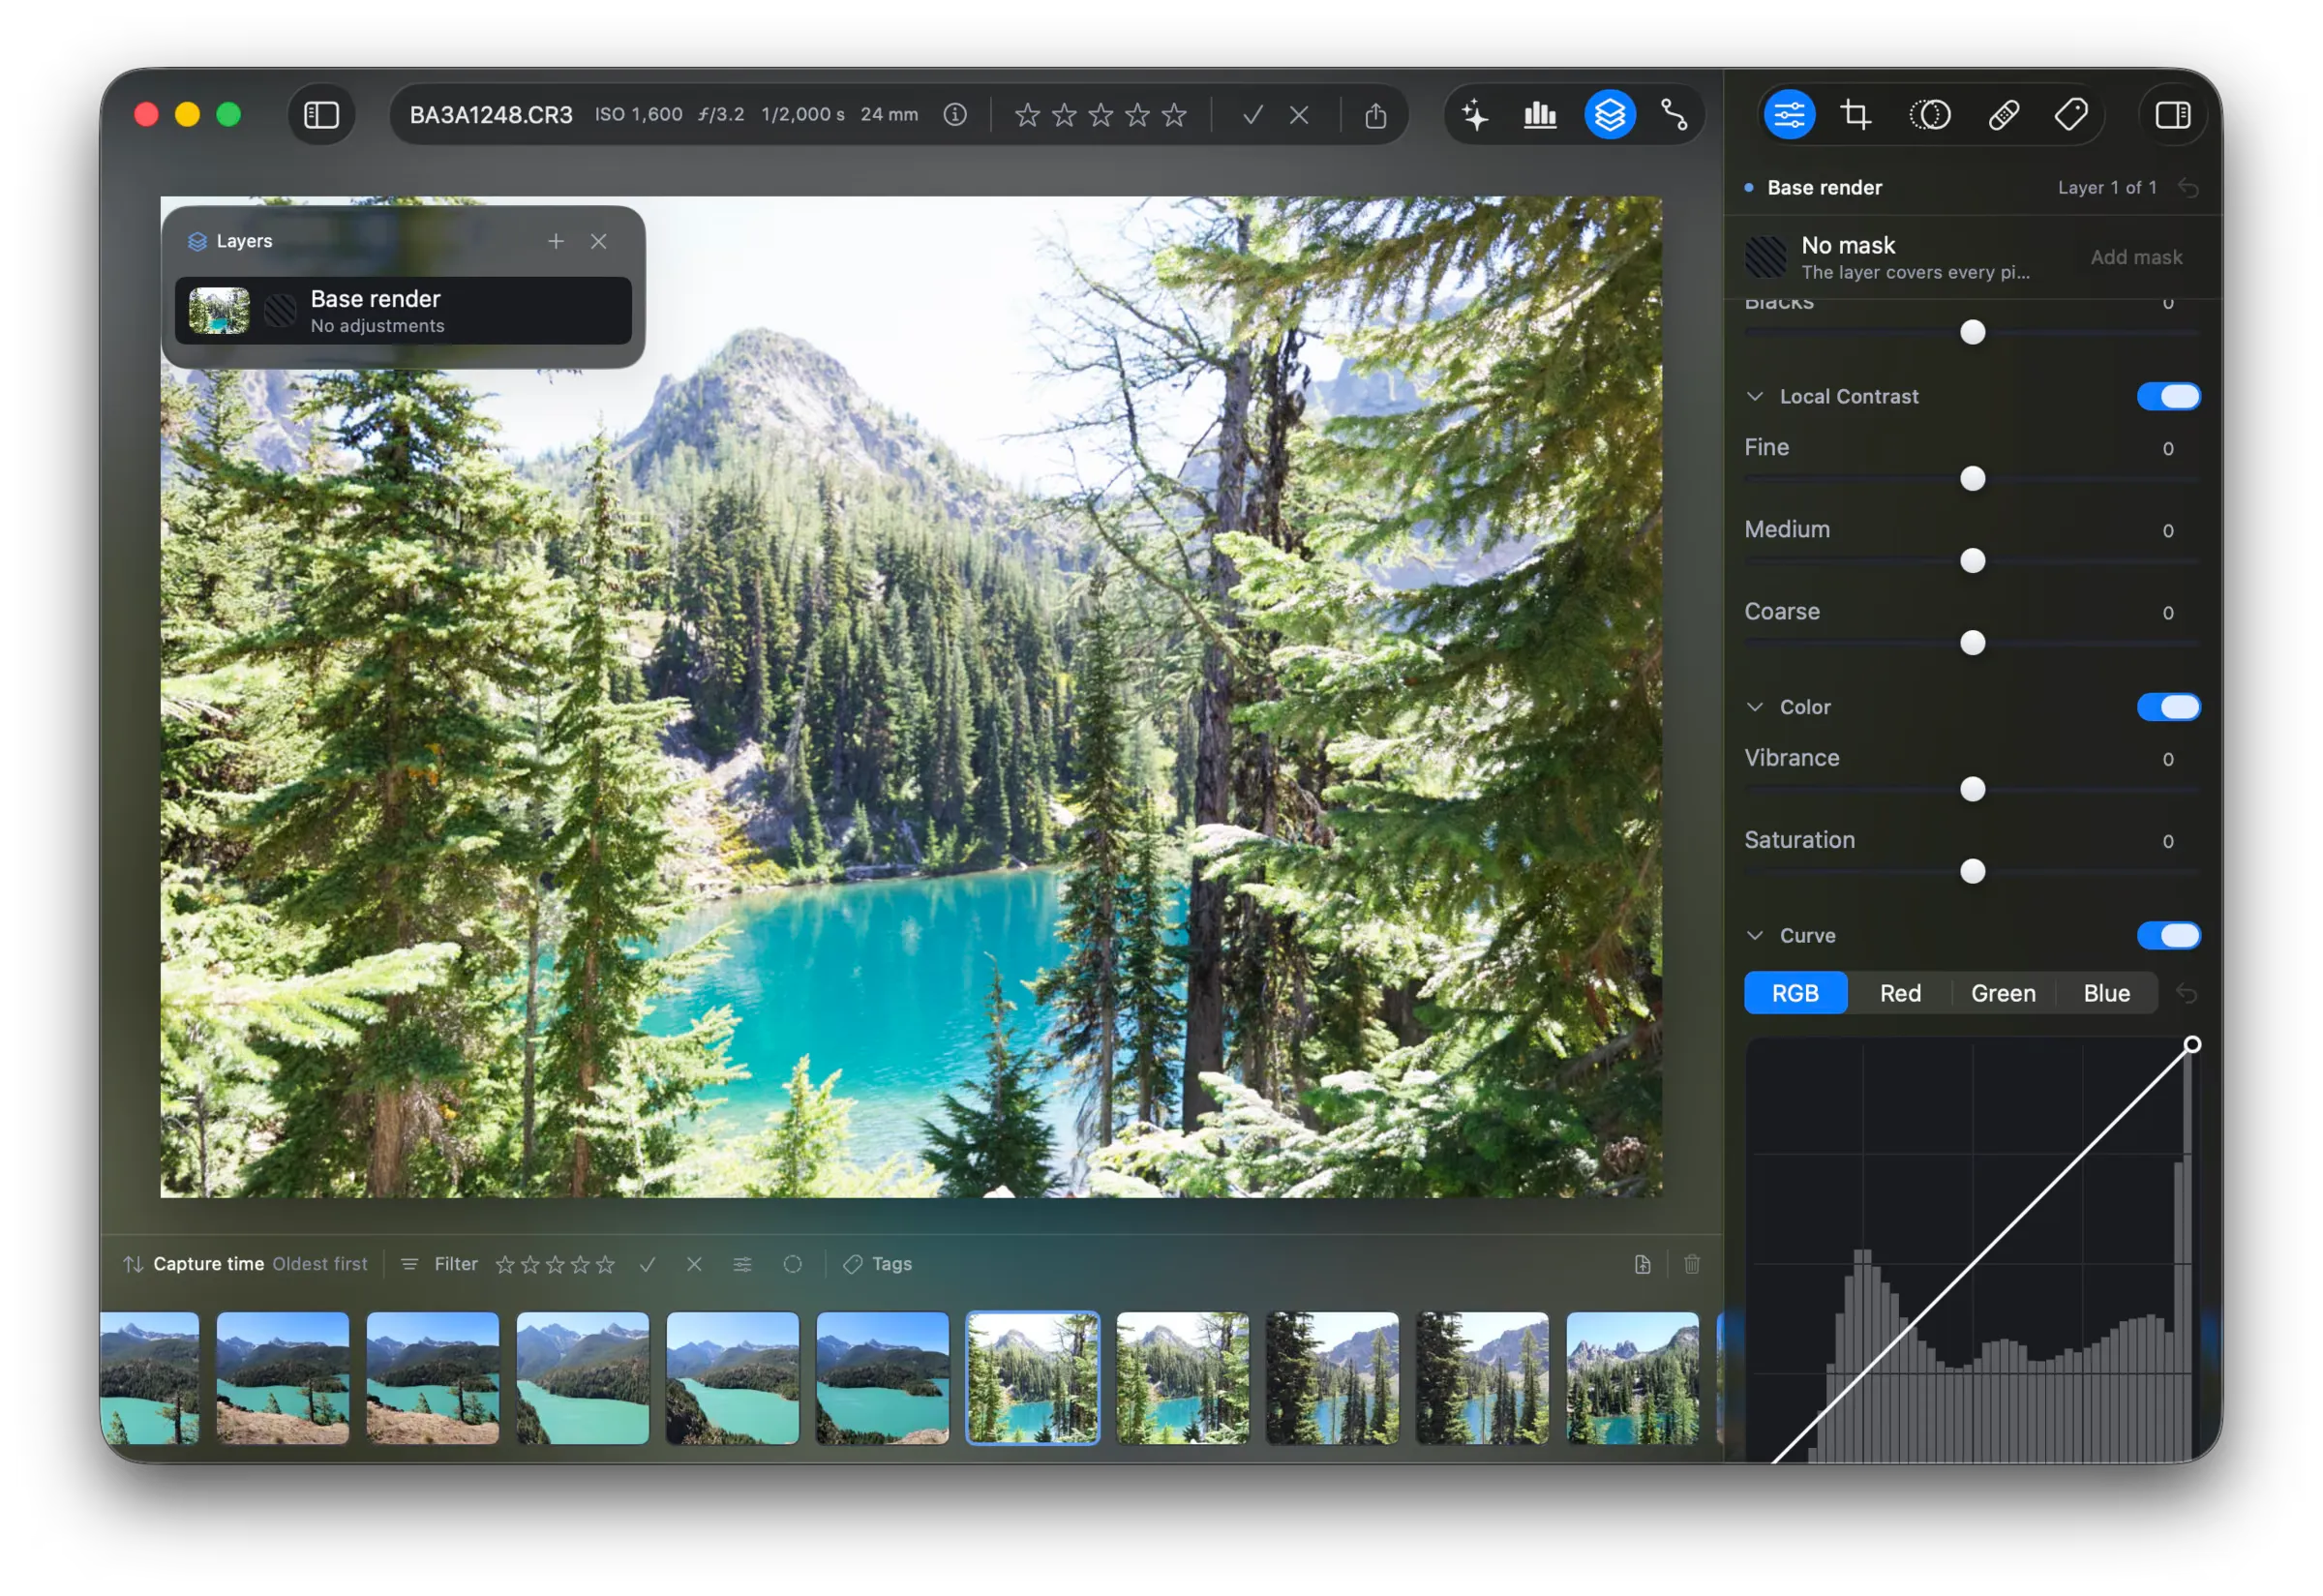
Section titled “Open the Layers pane”Click the layers button in the pane bar. The pane floats over the top left of the canvas. Drag the header to move it. Click the cross to close it.
Every photo starts with one layer, Base render. It covers every pixel, and you cannot mask it. The controls in the sidebar belong to the layer you select in the pane.
Add a layer
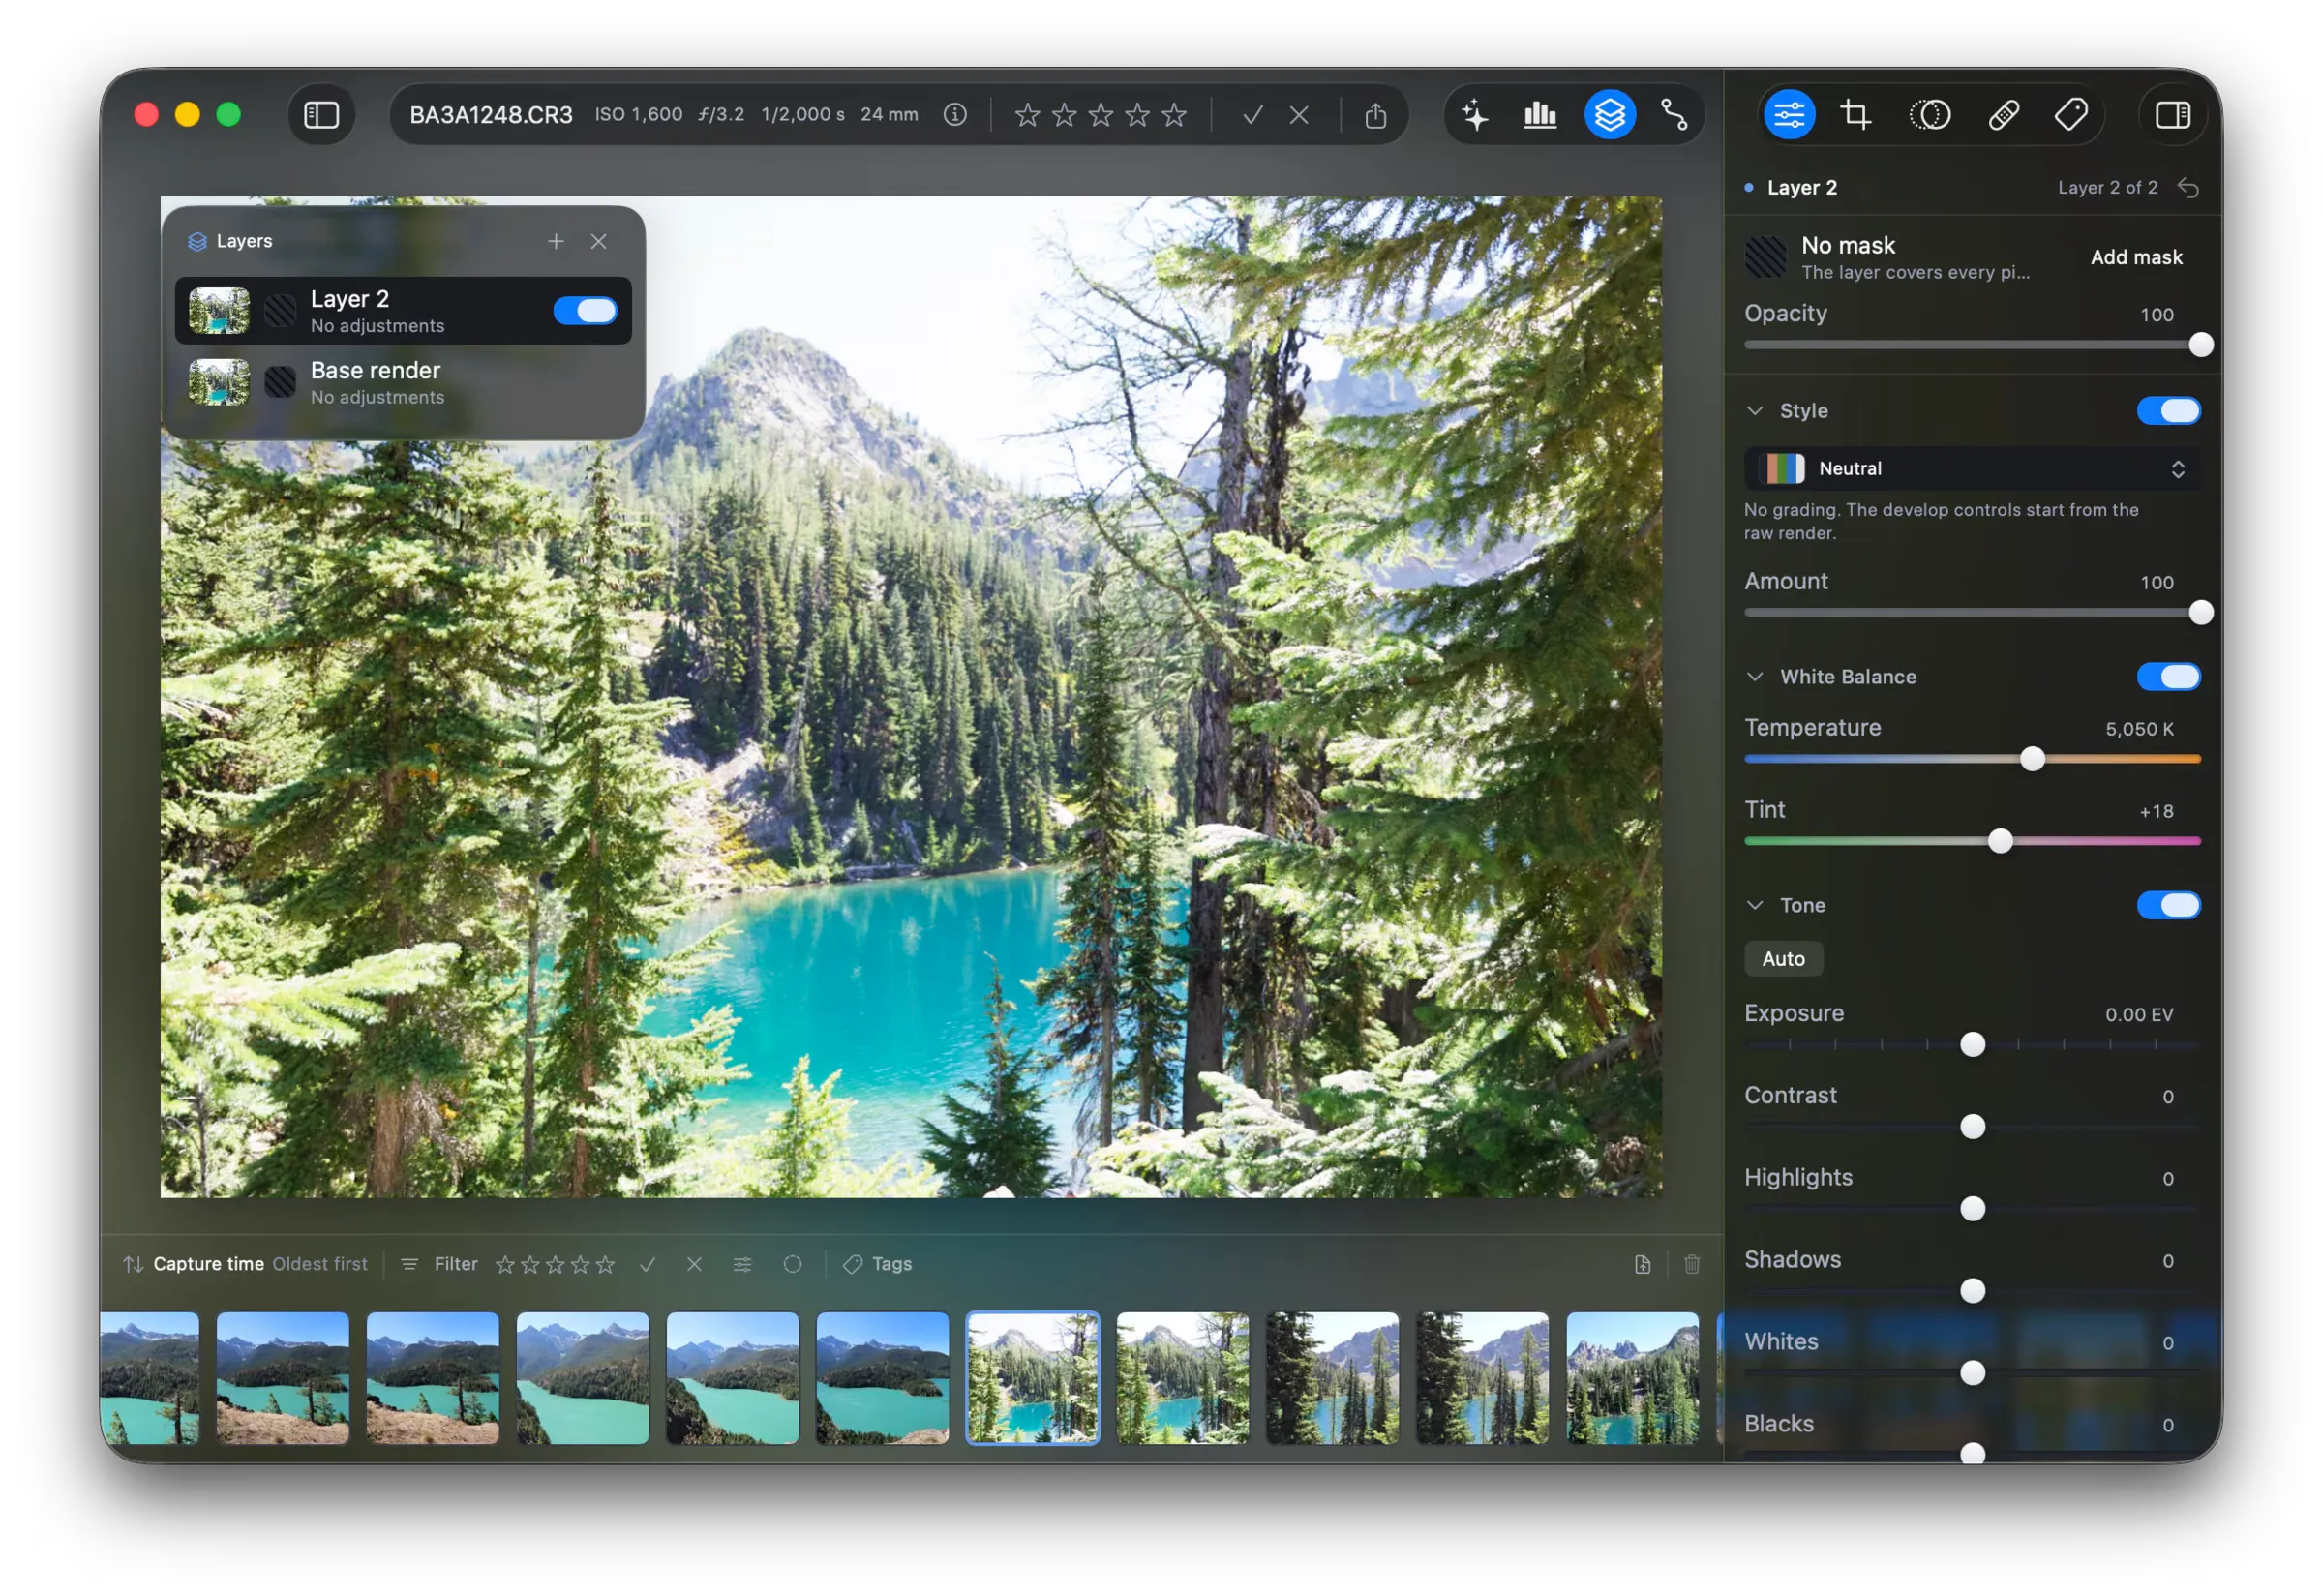
Section titled “Add a layer”Click the plus in the Layers pane header. Fotometis adds the layer above the one you selected, then selects the new layer.
A new layer starts with no adjustments and no mask, so it changes nothing yet. The row shows the name, Layer 2, and a switch that hides the layer.
Add a mask
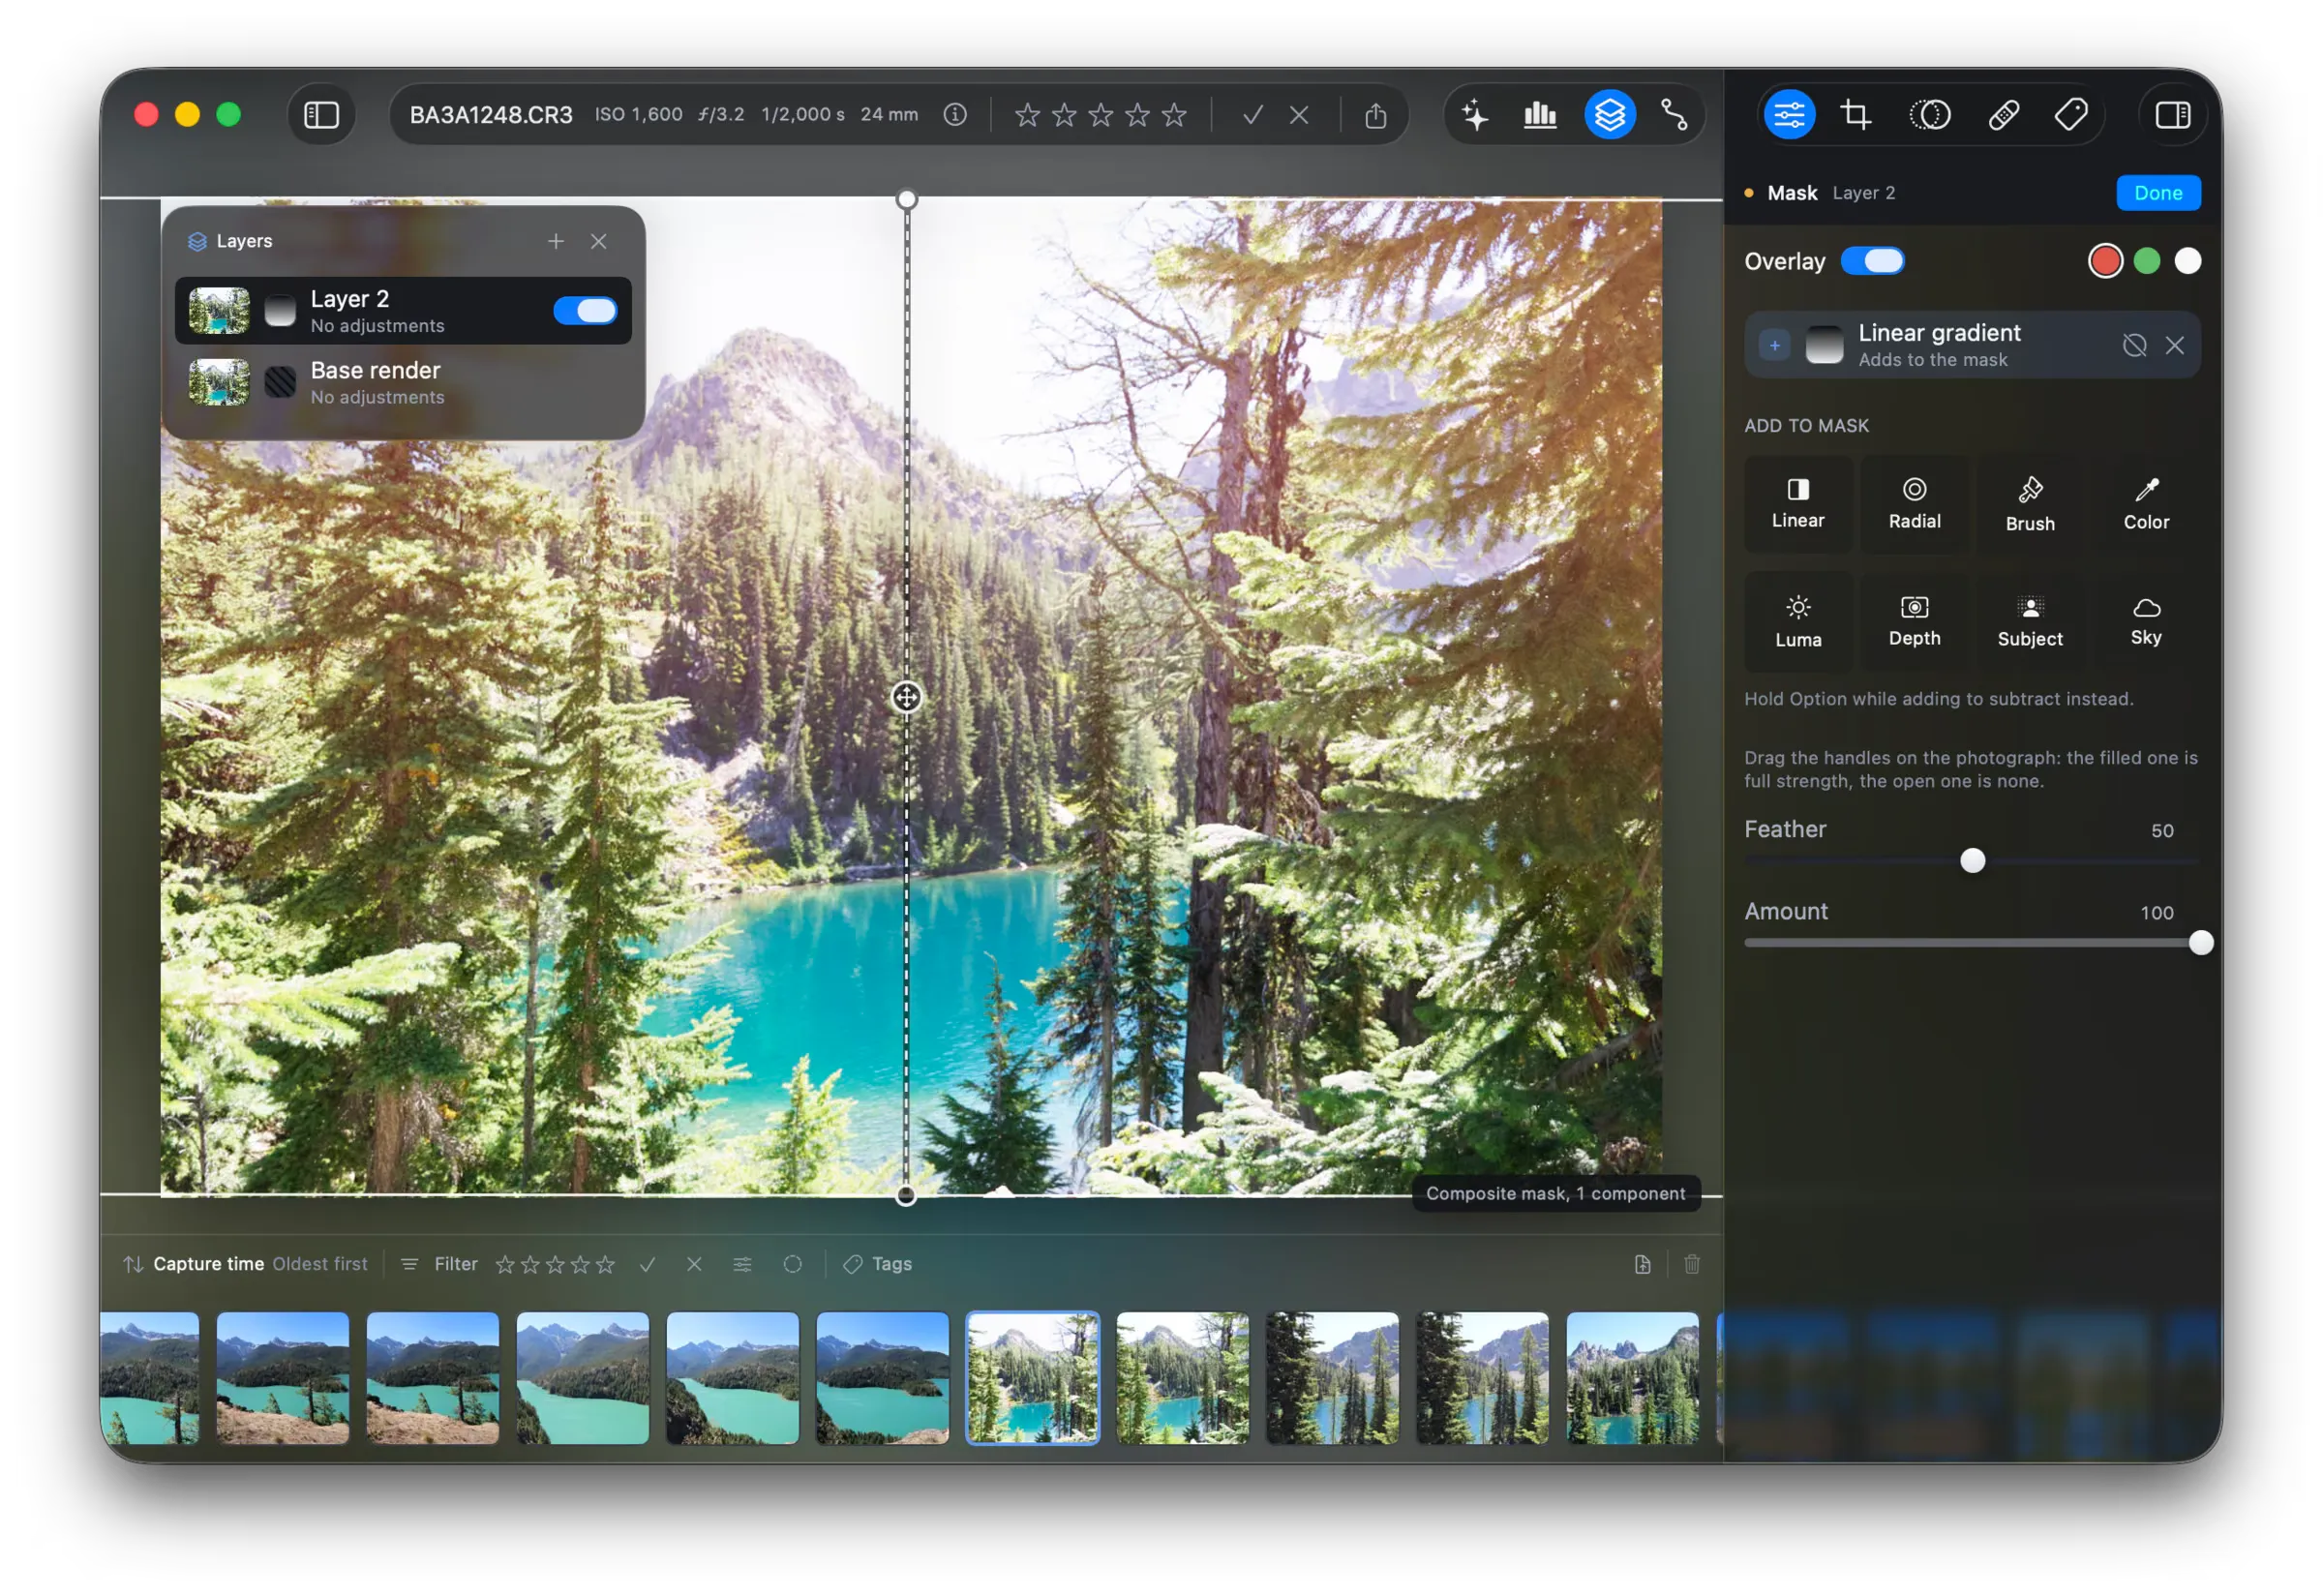
Section titled “Add a mask”Click Add mask in the sidebar. The mask editor replaces the develop controls. Pick a tool under Add to mask.
| Tool | What it selects | Controls |
|---|---|---|
| Linear | A straight gradient, full at one end and none at the other. | Feather, Amount |
| Radial | An ellipse, covered inside and softer outside. | Feather, Spread, Amount |
| Brush | The paths you paint on the photo. | Feather, Amount |
| Color | Every pixel near one color. | Range, Refine, Amount |
| Luma | Every pixel in a band of brightness. | A band, Falloff, Amount |
| Depth | Every pixel in a band of distance from the camera. | A band, Falloff, Amount |
| Subject | Whatever stands out from its background. | Refine, Shift, Amount |
| Sky | The sky, cut around whatever stands in front of it. | Refine, Shift, Amount |
Each tool has its own controls, so the editor draws only the controls the tool uses.
The editor calls each shape a component. Overlay tints the covered pixels so you can see the mask on the photo. The three circles beside it set the color of the tint. Red, green, and white are there because no one color stays legible over every photo.
Aim the mask
Section titled “Aim the mask”Some tools need direct aiming on the photo.
- Drag the handles of a linear gradient. The filled handle is full strength, and the open handle is none.
- Drag the handles of a radial gradient. The filled handle on the rim also turns the ellipse.
- Drag on the photo to paint with the Brush. Hold ⌥ to erase.
- Click the photo to pick the color for a Color range.
- Subject and Sky need no aiming. Fotometis finds the region for you.
Combine masks
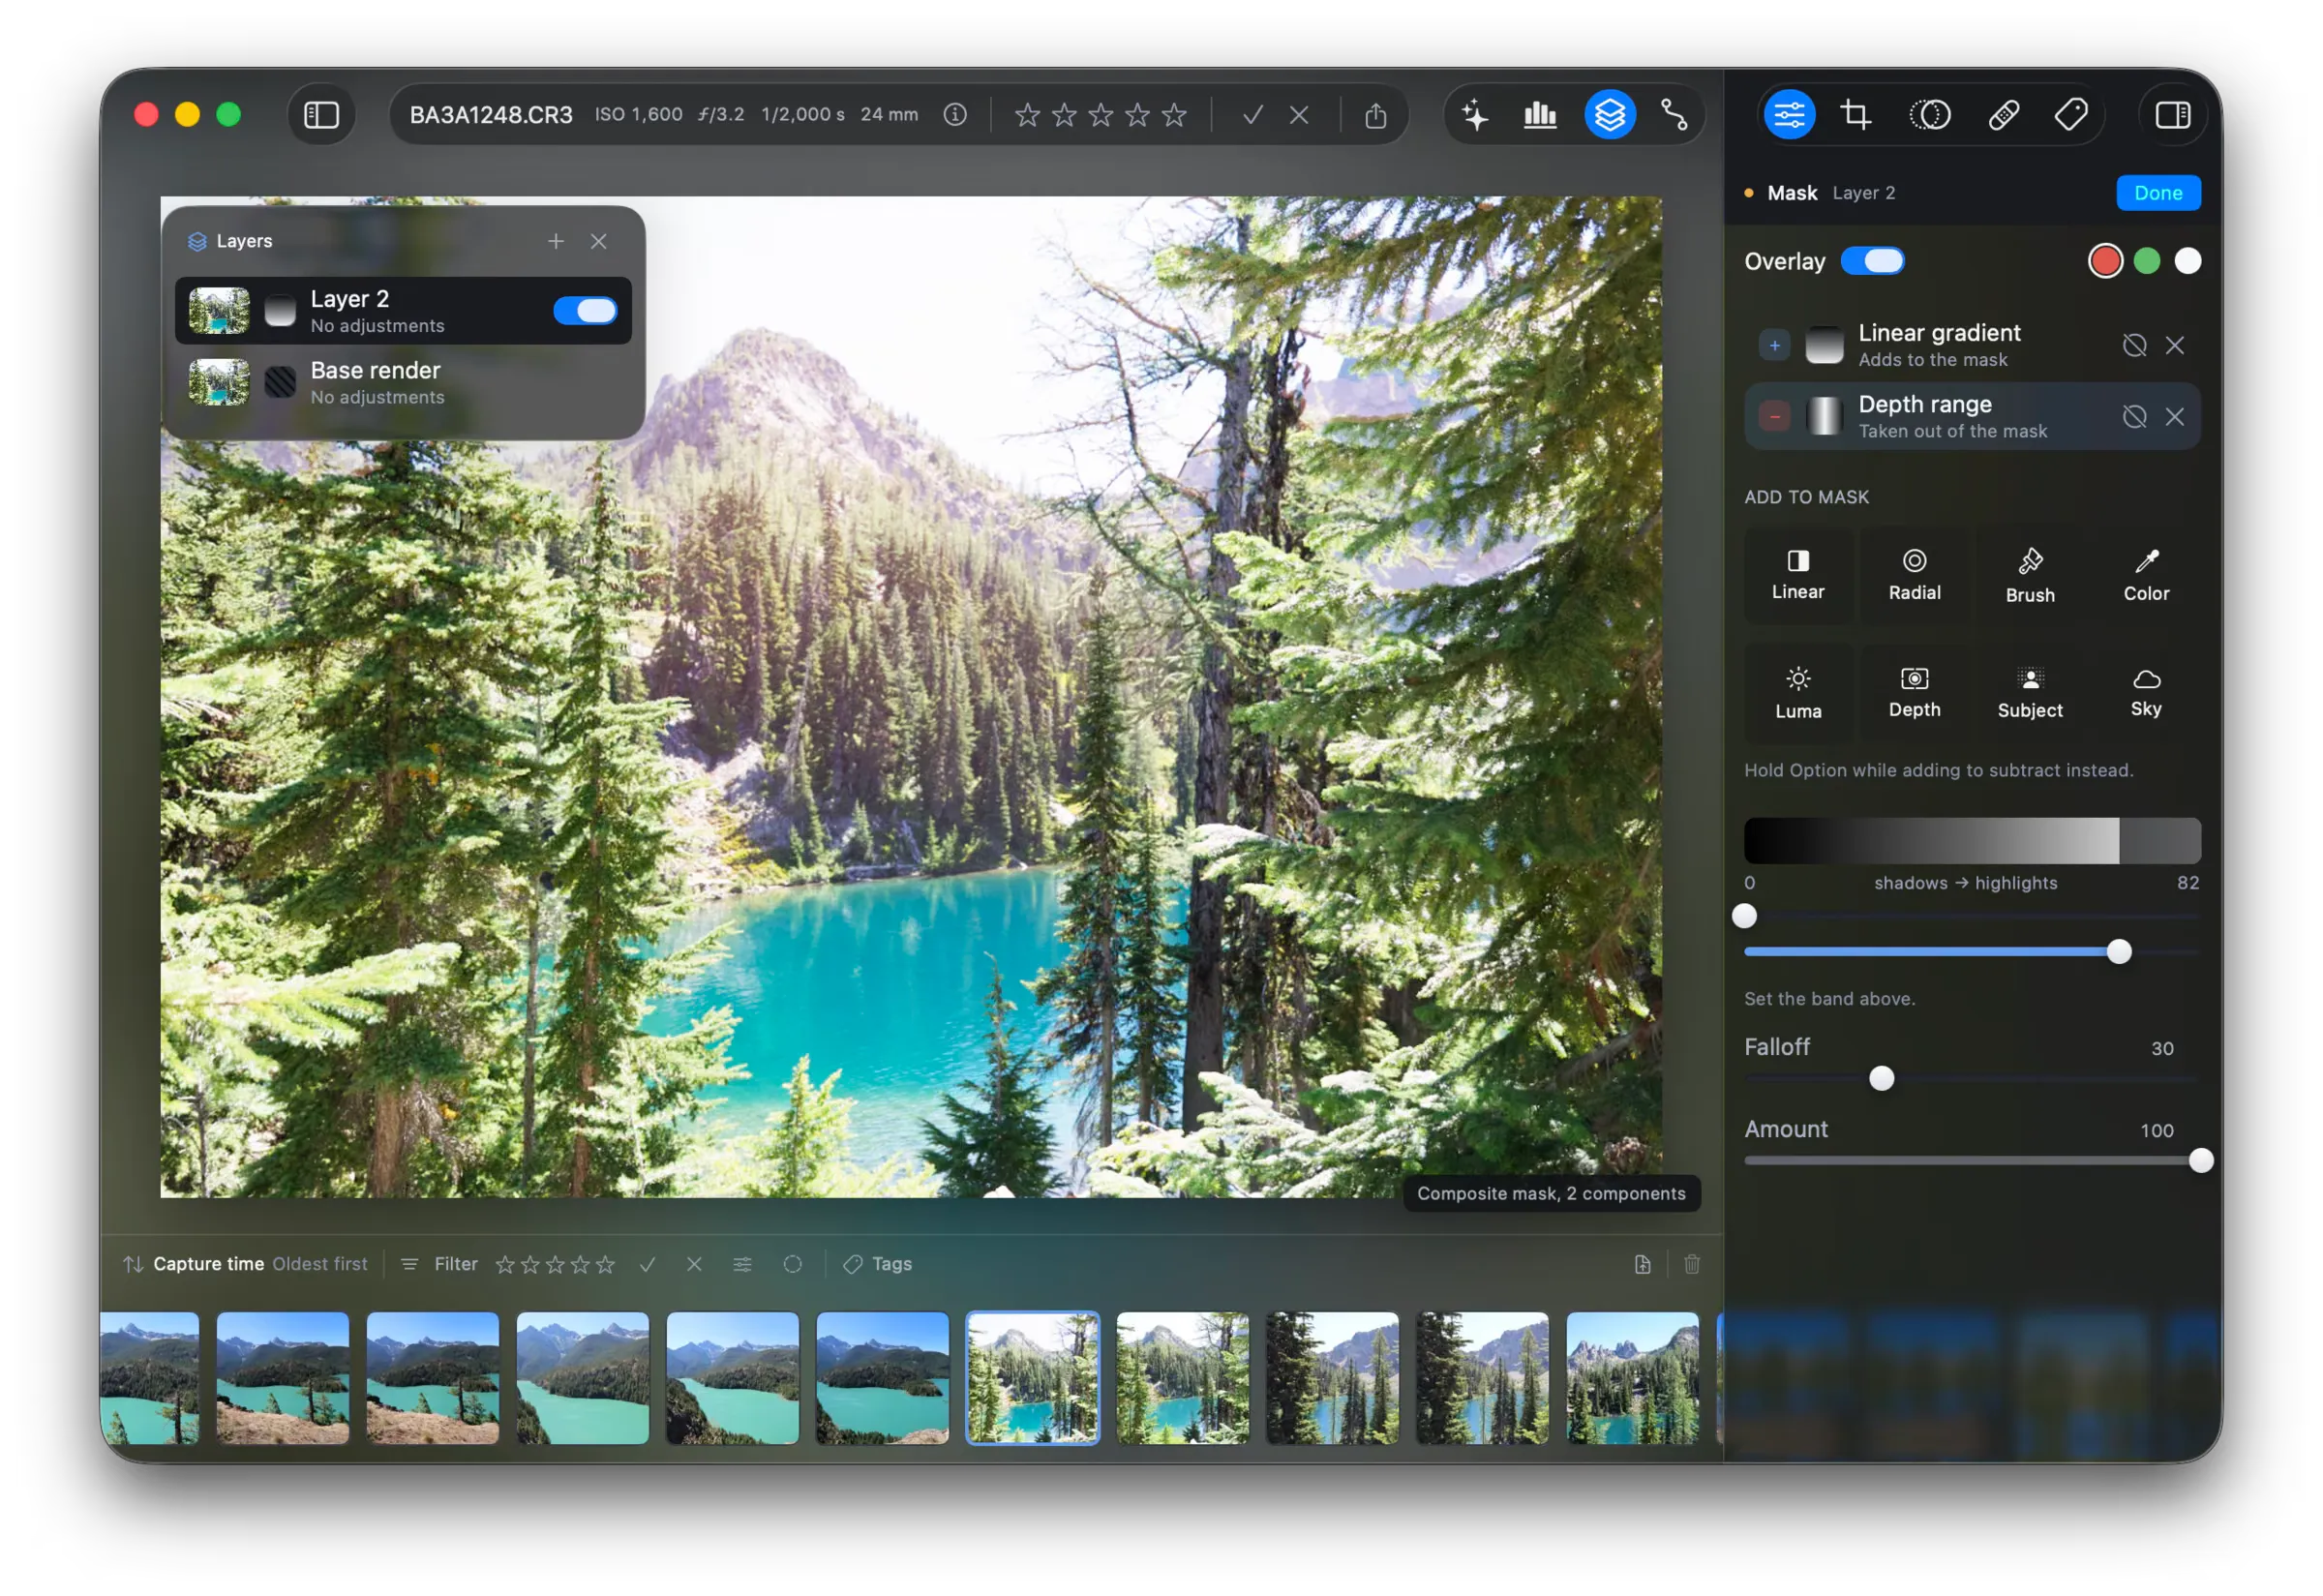
Section titled “Combine masks”A mask holds more than one component. Each component says what it does to the
mask under it. The modes are add (+), subtract (−), and intersect (∩).
- Add the second shape from Add to mask.
- Click the glyph at the left of the row to cycle the mode.
Hold ⌥ while you add a shape to subtract it instead of adding it.
Each row also holds two buttons. The circle with a slash inverts the component. The cross deletes it.
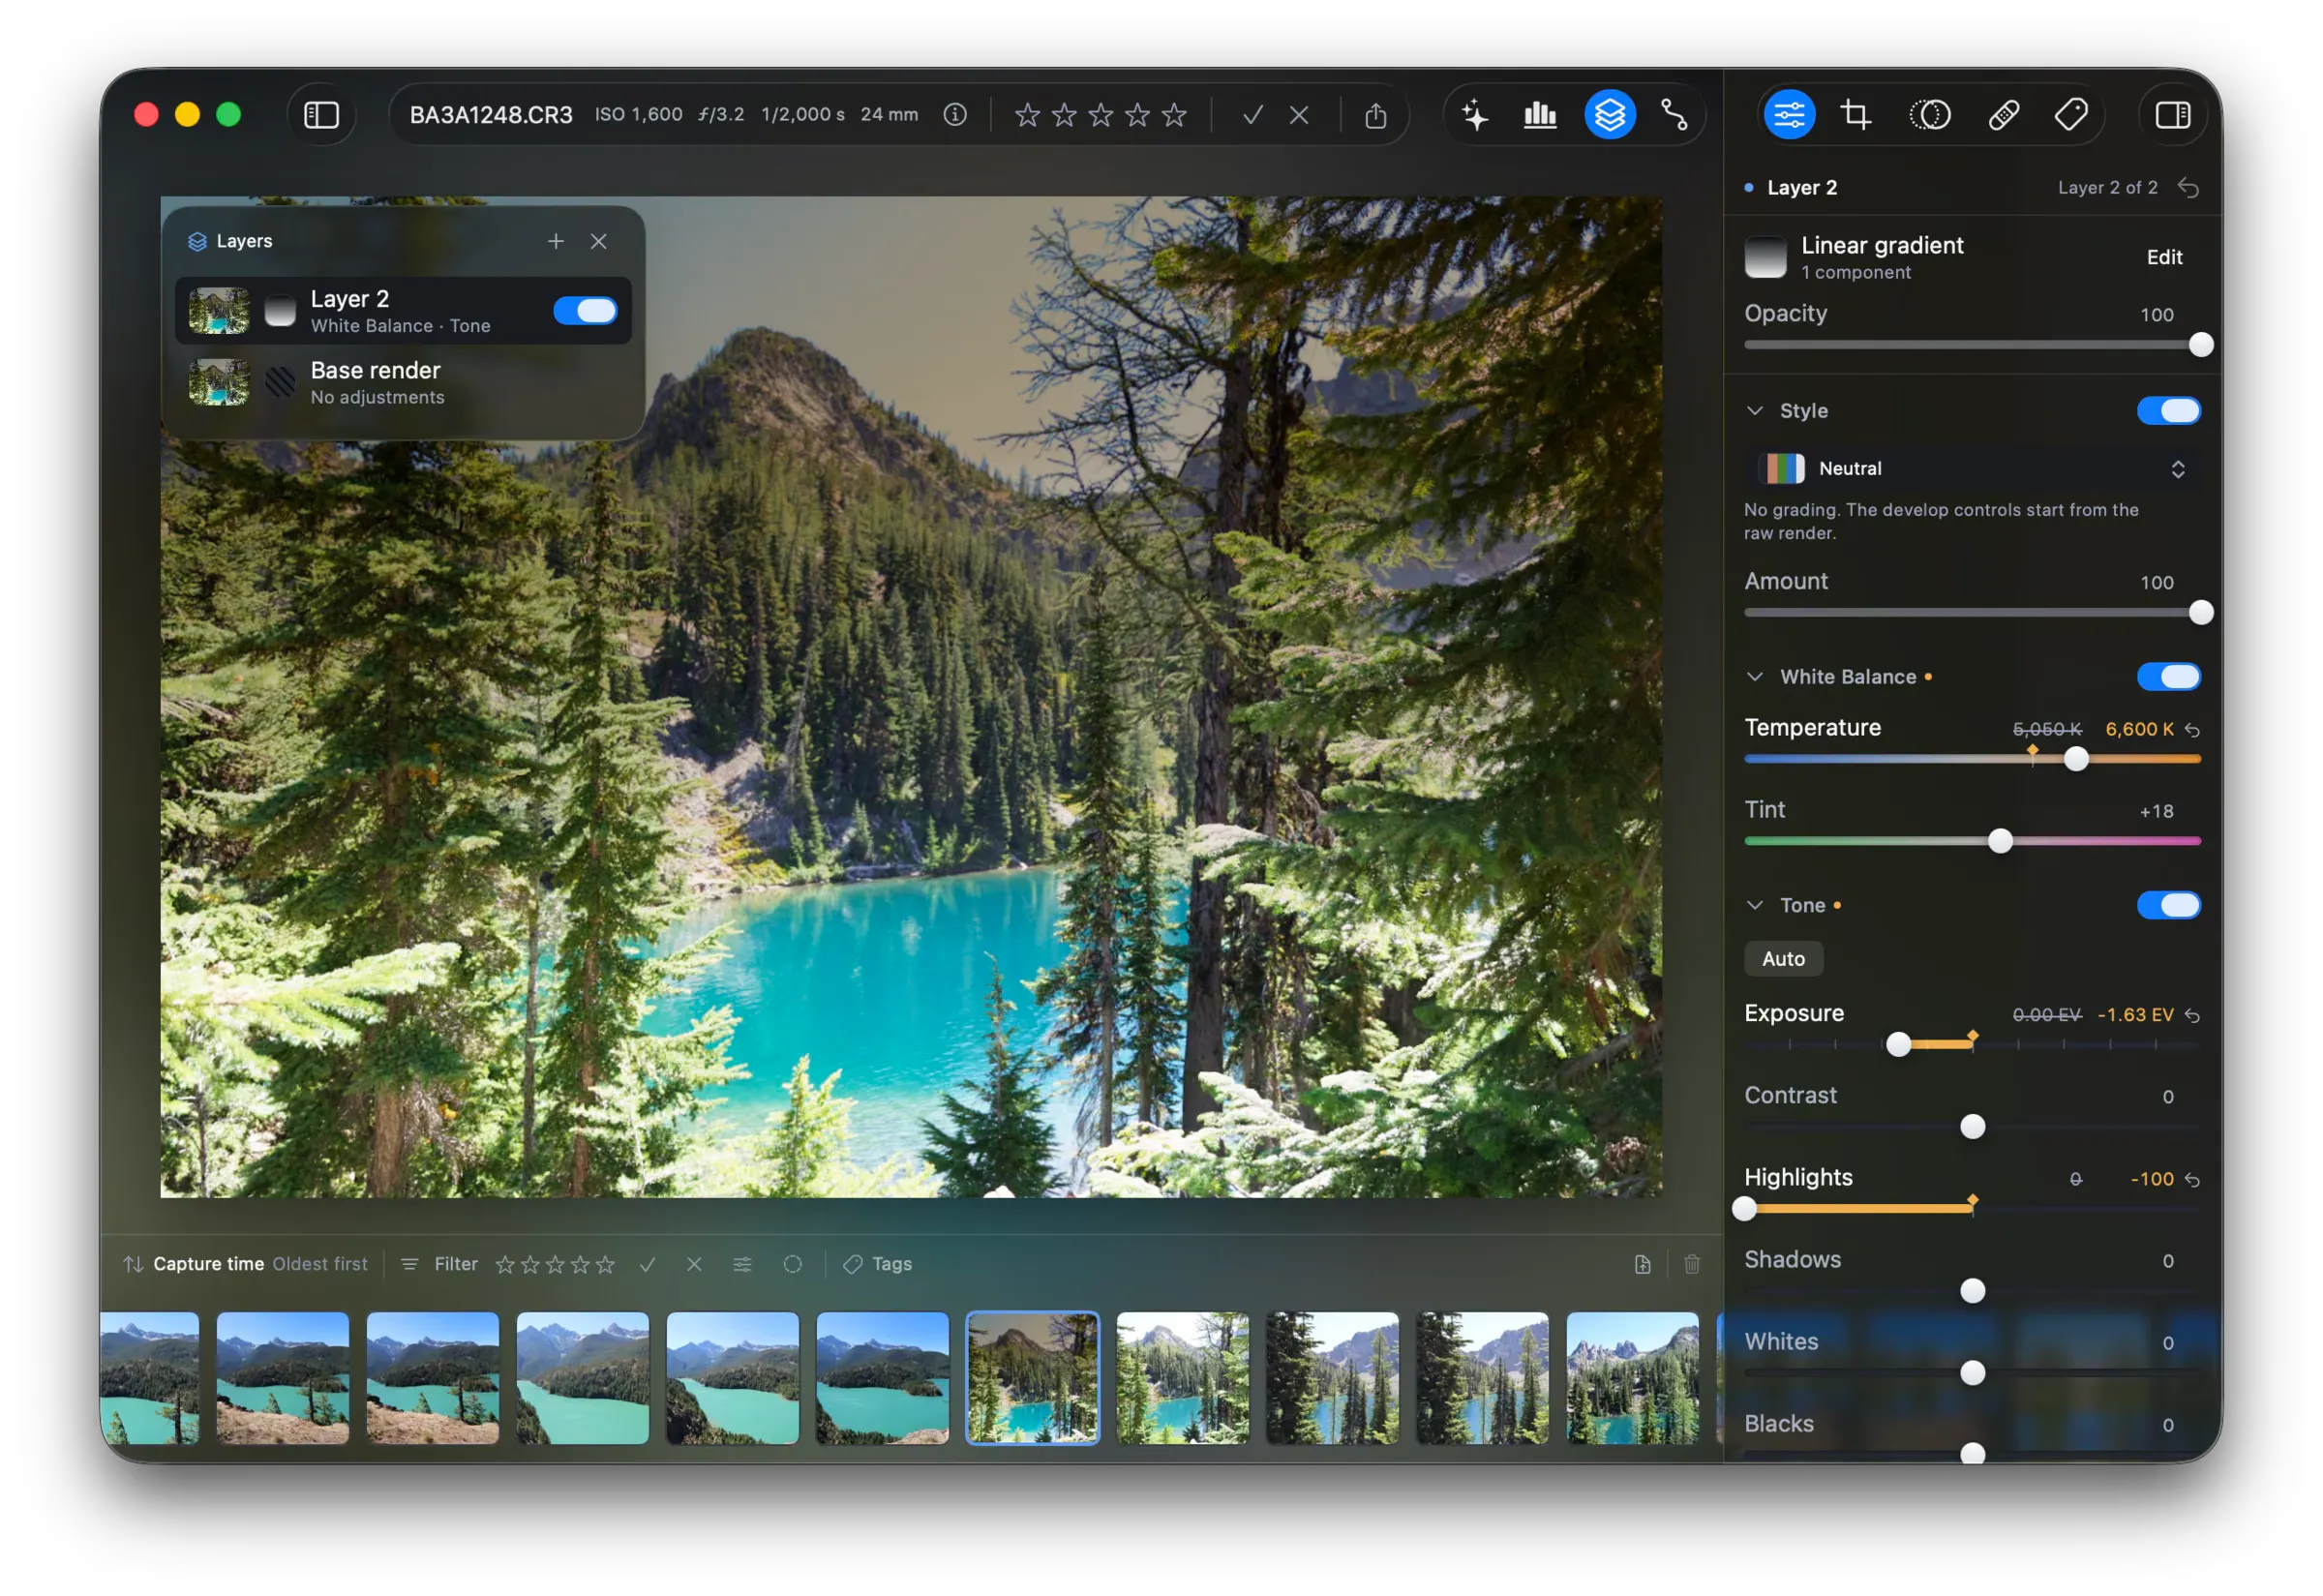
In this example, the linear gradient covers the top of the photo. The depth range takes the near trees back out of it, so the layer reaches the mountain and the sky alone.
Edit the layer
Section titled “Edit the layer”Click Done. The develop controls come back, and they now apply only inside the mask. The sidebar names the mask above them, with the number of components and an Edit button.
Opacity sets how much of the layer reaches the photo. The row in the Layers pane lists the groups the layer touches, for example “White Balance · Tone”.
Order the layers
Section titled “Order the layers”Fotometis develops the stack from the bottom to the top. Base render runs first. Each layer above it works on the result of the layers below.
You cannot drag a row to reorder the stack. Ask the assistant to reorder the layers, or to rename one. See Prompt the assistant.
To hide a layer, turn off the switch in its row. To delete a layer, right click the row, then click Delete Layer. You cannot delete Base render.
Ask the assistant for a mask
Section titled “Ask the assistant for a mask”The assistant reaches the same layers and masks that you do. Describe the region and the change in one request. For example:
- “create a layer mask linear gradient from top to bottom, darken the top of the photo”
- “increase exposure on the subject and decrease highlights”
- “lower the brightness of the sky”
The assistant adds the layer, builds the mask, then moves the controls. See Prompt the assistant.